With spring comes planting season! Have you ever picked out the perfect tree to add to your landscape, but not sure how to plant it? Continue reading for a step-by-step tutorial provided by our Senior Coordinator of Horticulture Education & Community Impact Peter Lowe!
Step 1: Pick the Right Tree for the Right Location
Make sure shade trees are planted in the shade and sun trees in sun.
[Tip: Things to look for when choosing a tree include a nice healthy growth, straight trunk and balanced canopy.]
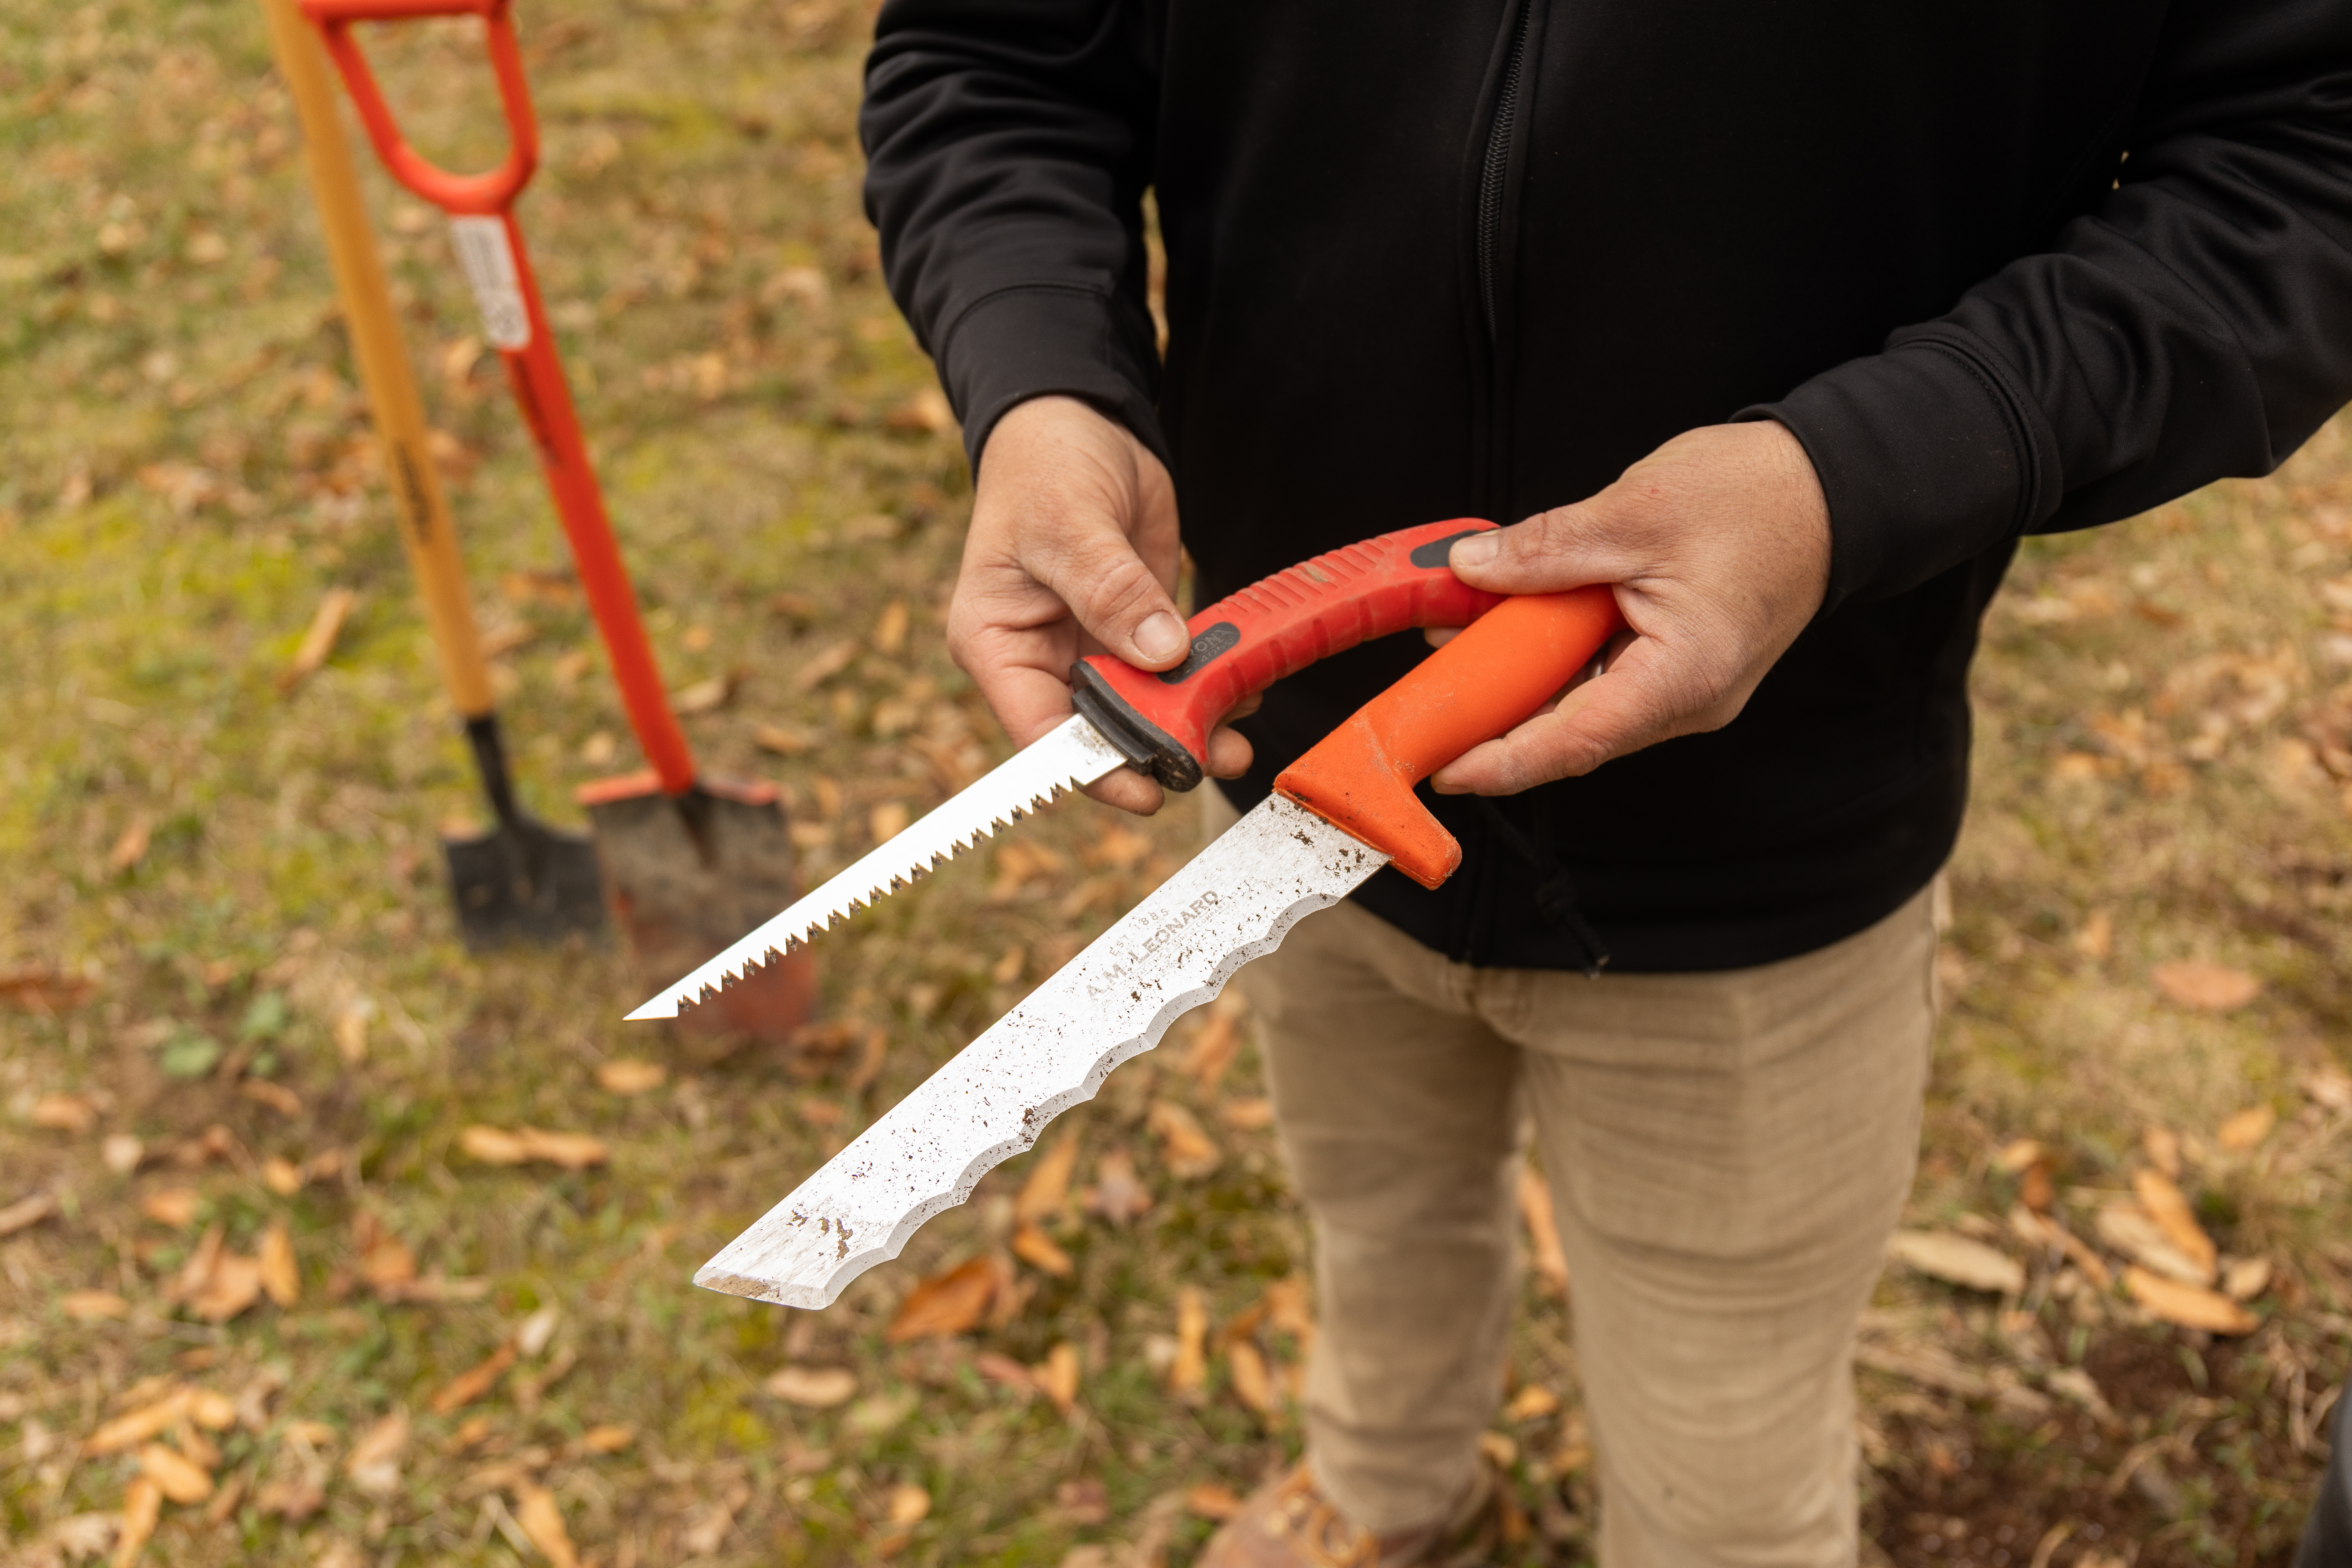
Step 2: Gather Your Tools
• Large Rounded Spade: Great for digging through clay soil (especially here in Ohio!)
• Small Rounded Spade: Great for planting smaller container shrubs, perennials and small trees.
• Metal Flat Spade: Great for cutting through roots, hard soil and turf.
• Sod Cutting Knife: Great for slicing through fibrous roots.
• Root Saw: Great for cutting larger roots that tend to get root bound in containers.
• Mulch
• Water
Step 3: Measure Container
The size of the hole should be 2-3 times the width of the tree container and just as deep.
[Tip: Place the tree container in your planting location and define a circle 2-3 times the width around the container with your rounded spade. Next, cut the turf into even slices, remove the turf and set aside or use to fill gaps in your yard!]
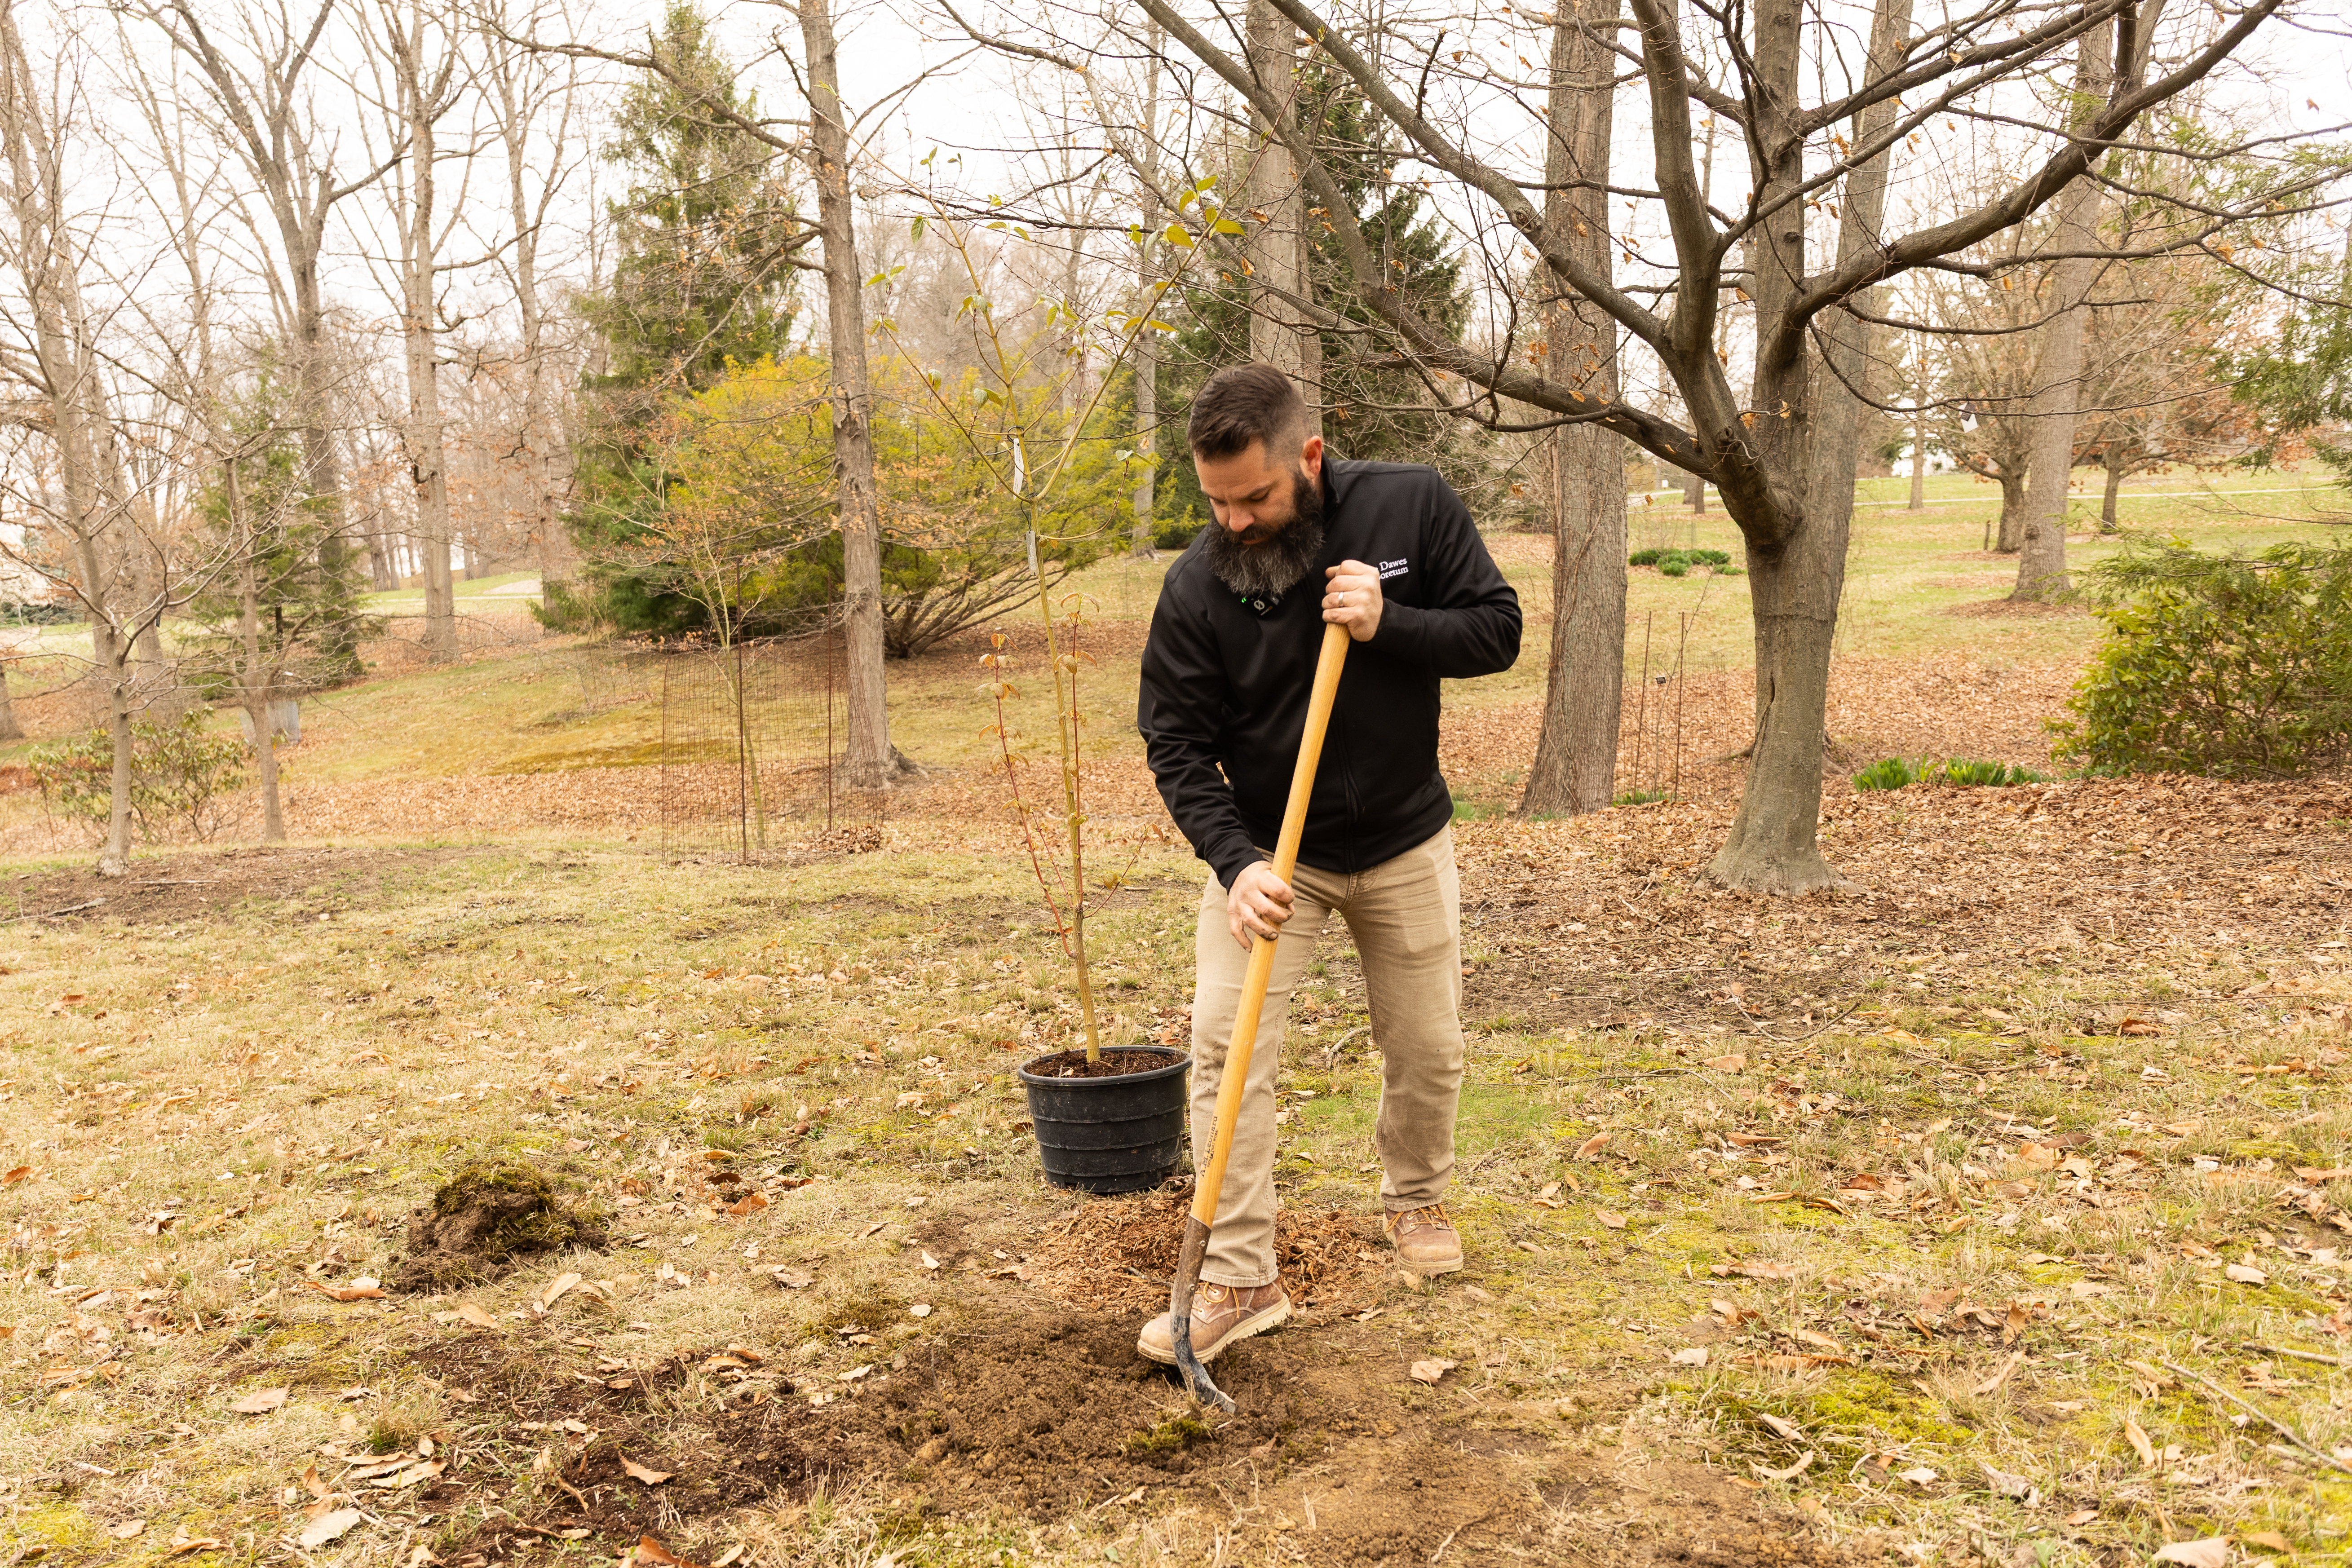
Step 4: Dig the Hole
Avoid removing the soil in large clumps as you will reuse it at the end when you secure your tree into the hole! Instead, break the soil up inside the hole before removing. Make sure to score the sides of the hole to help the roots grow into the native soil.
[Tip: Running into roots or rocks? Use your flat spade to help!]
Step 5: Compare Depth of Tree Container with Depth of Hole
You want the hole to be as deep as the container that the tree is currently in. If your hole is too deep, use some left-over sod or dirt to backfill the hole.
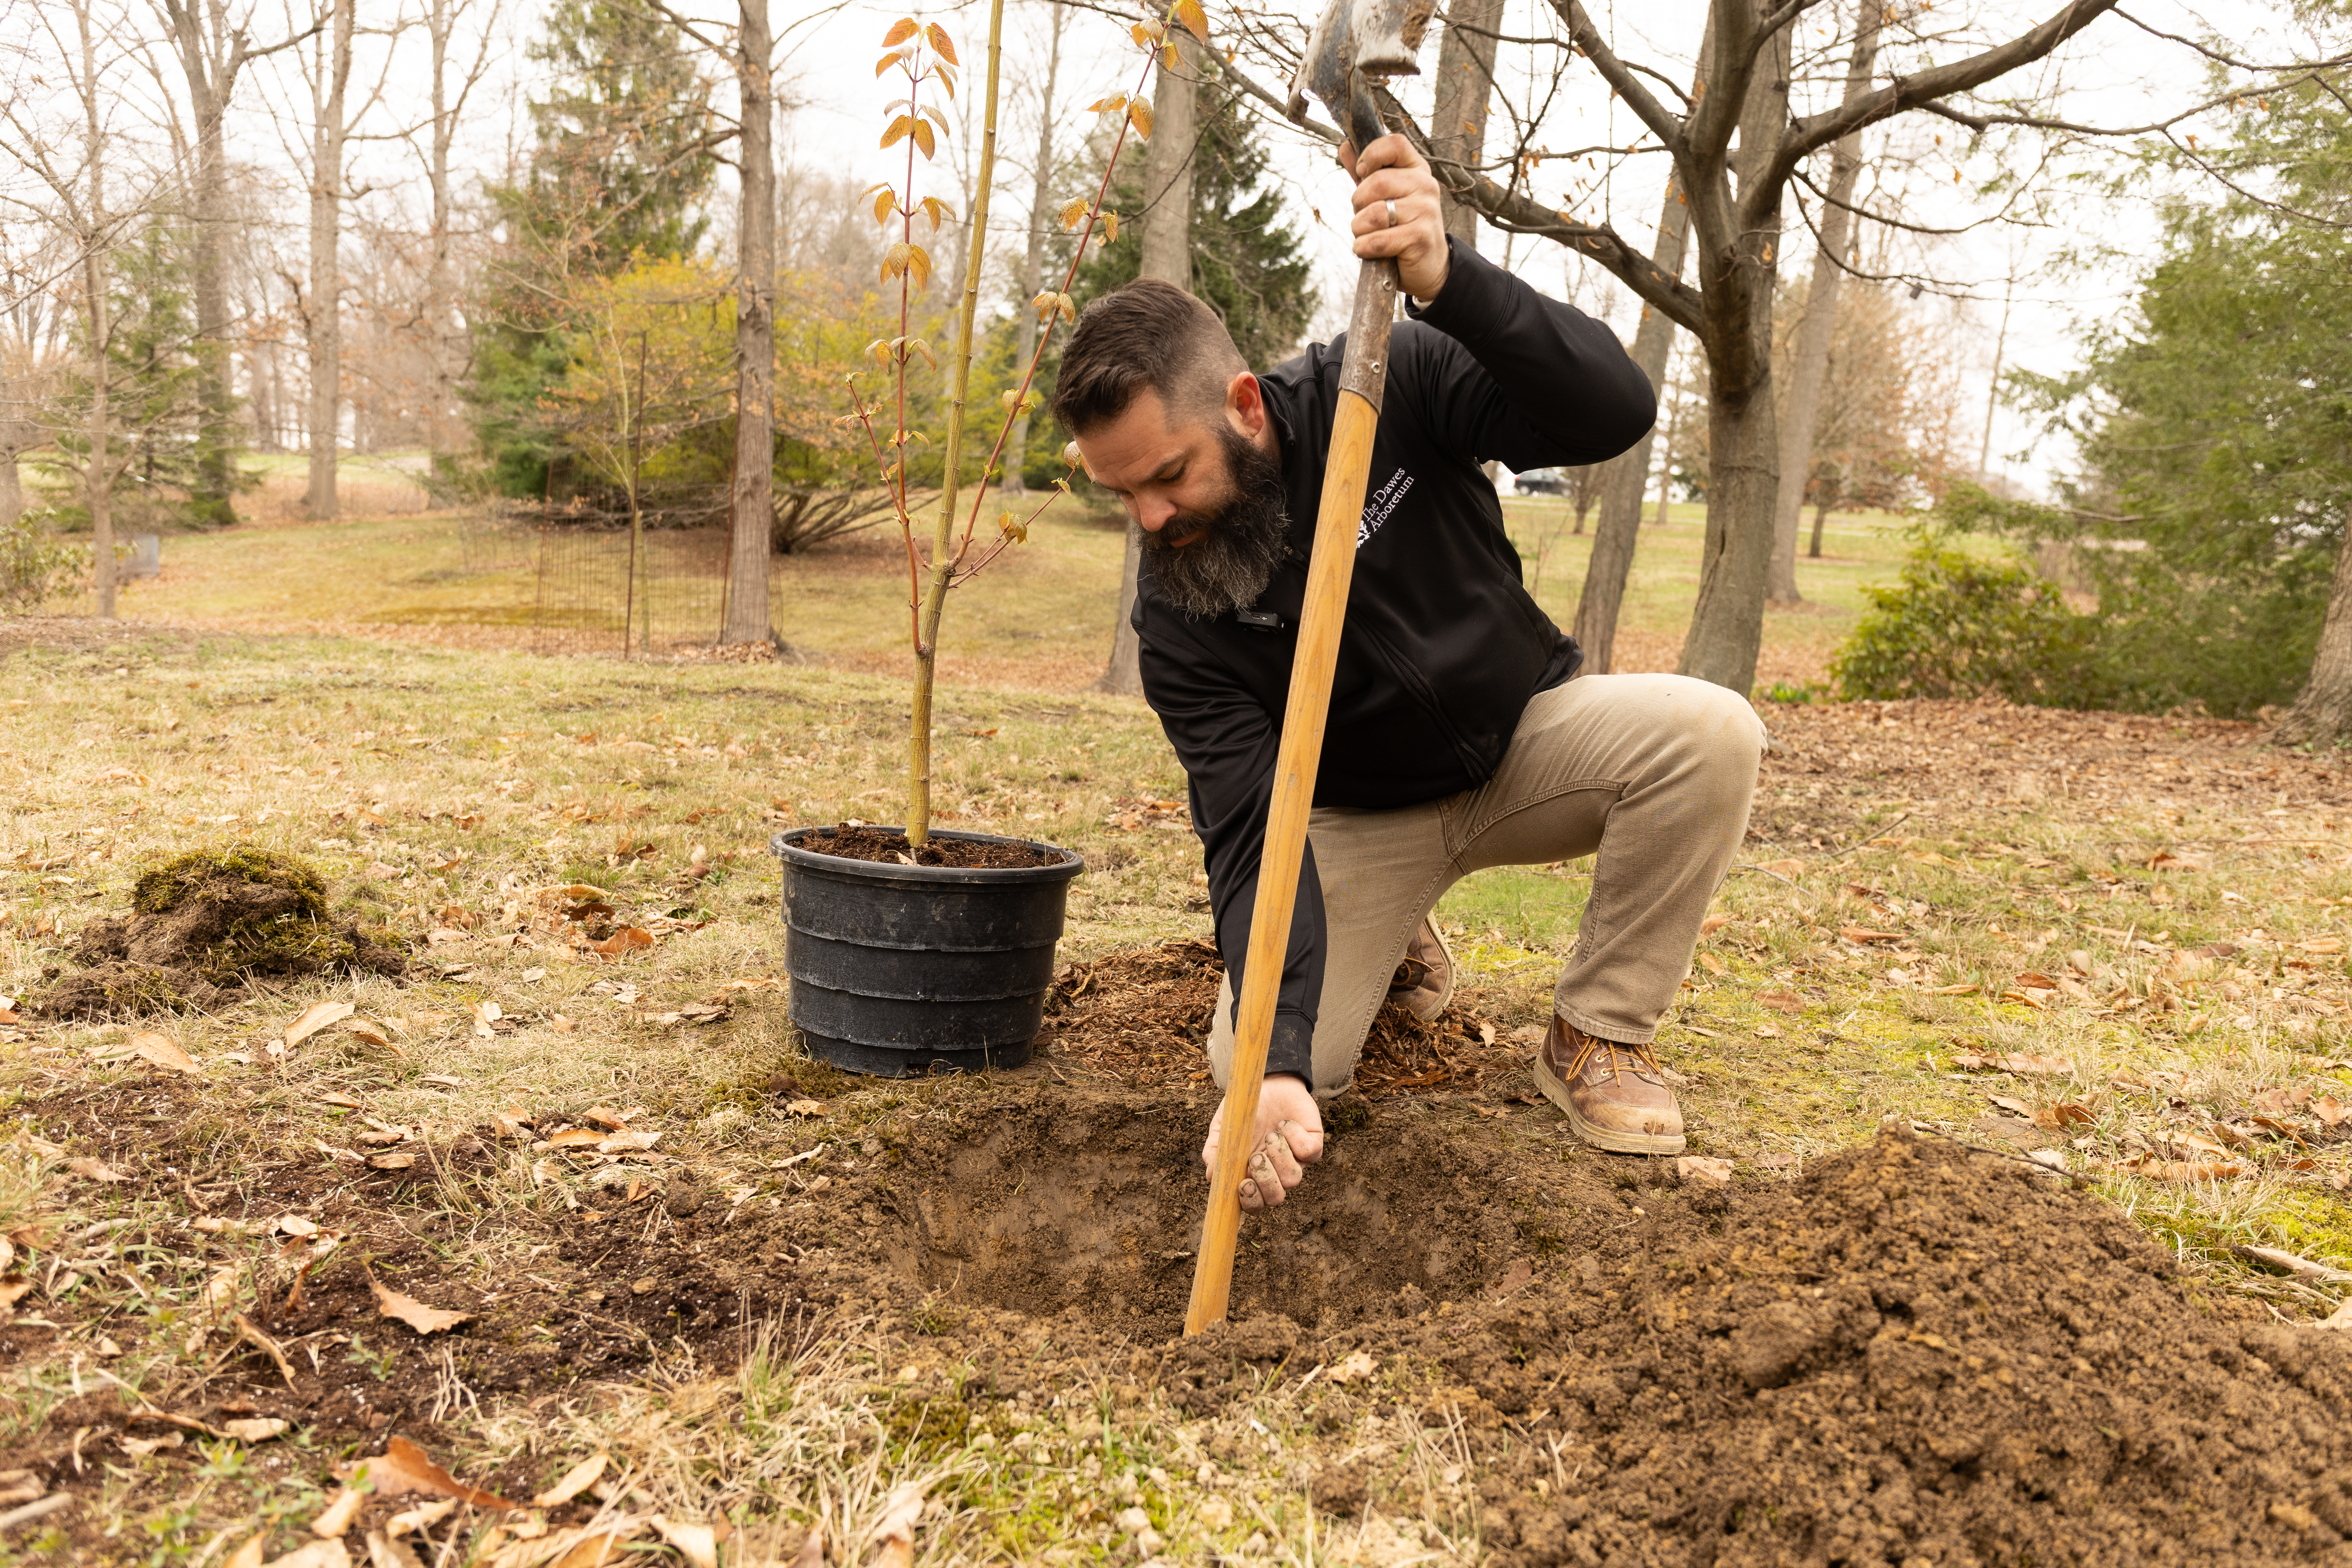
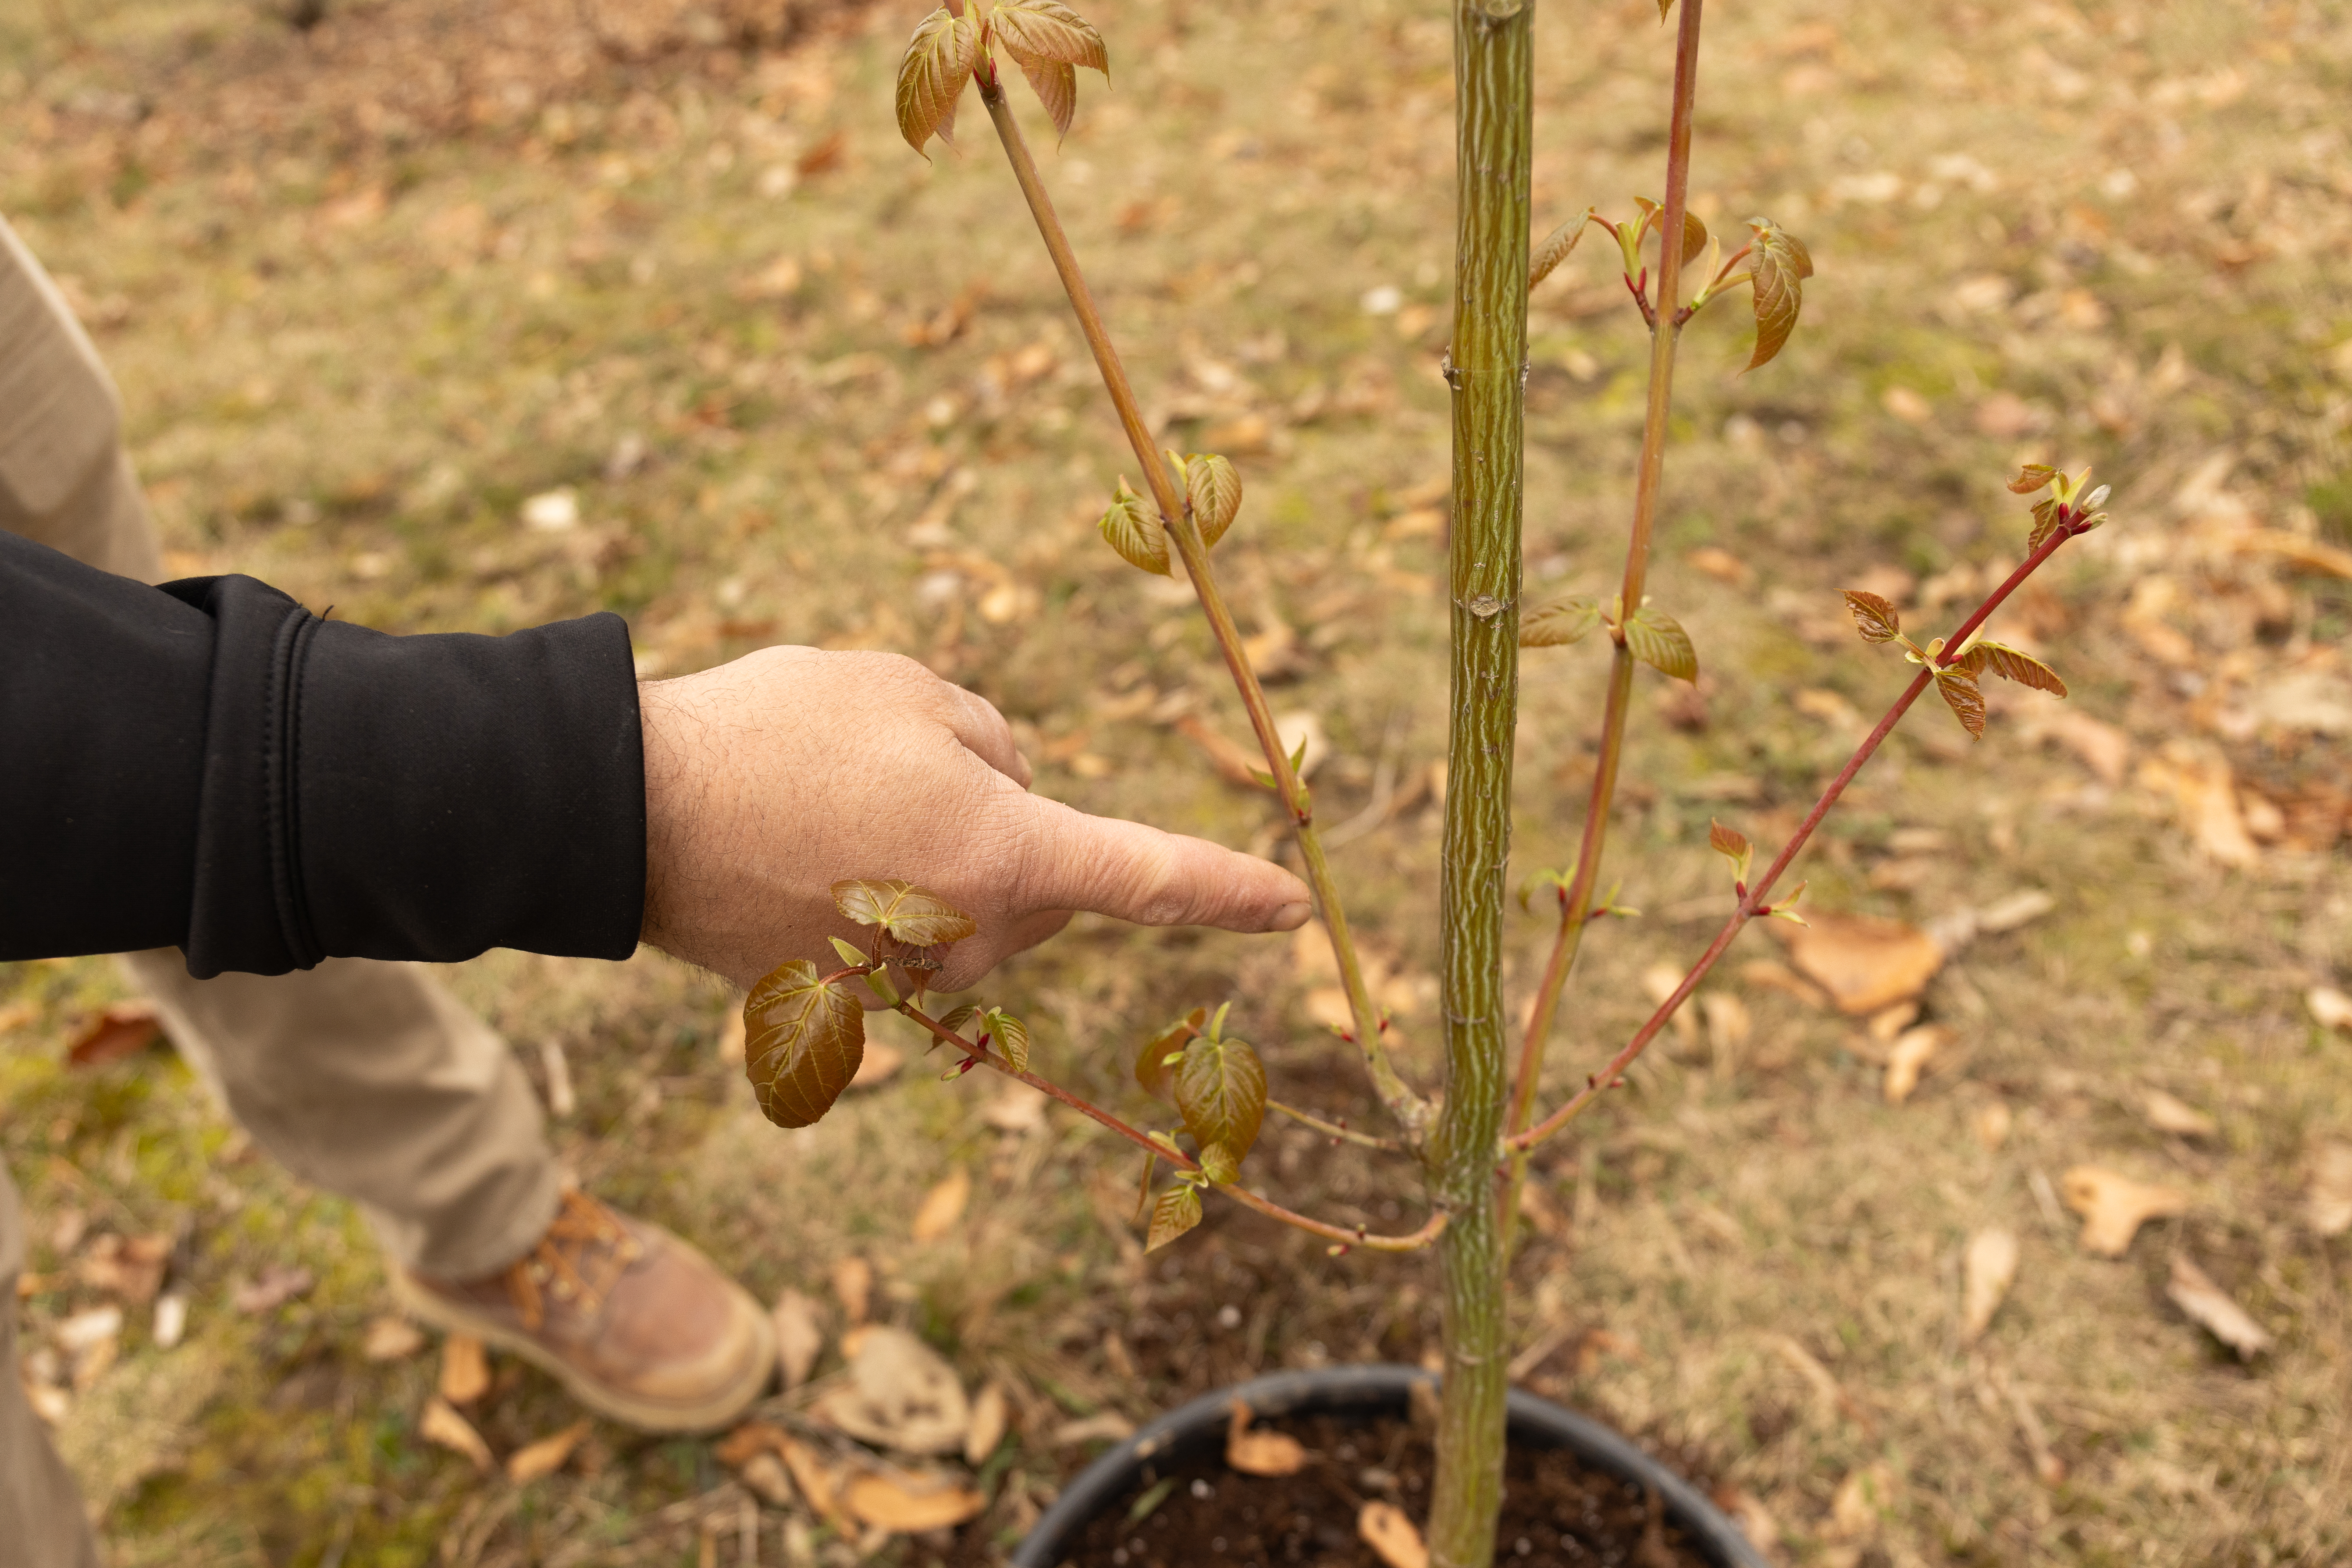
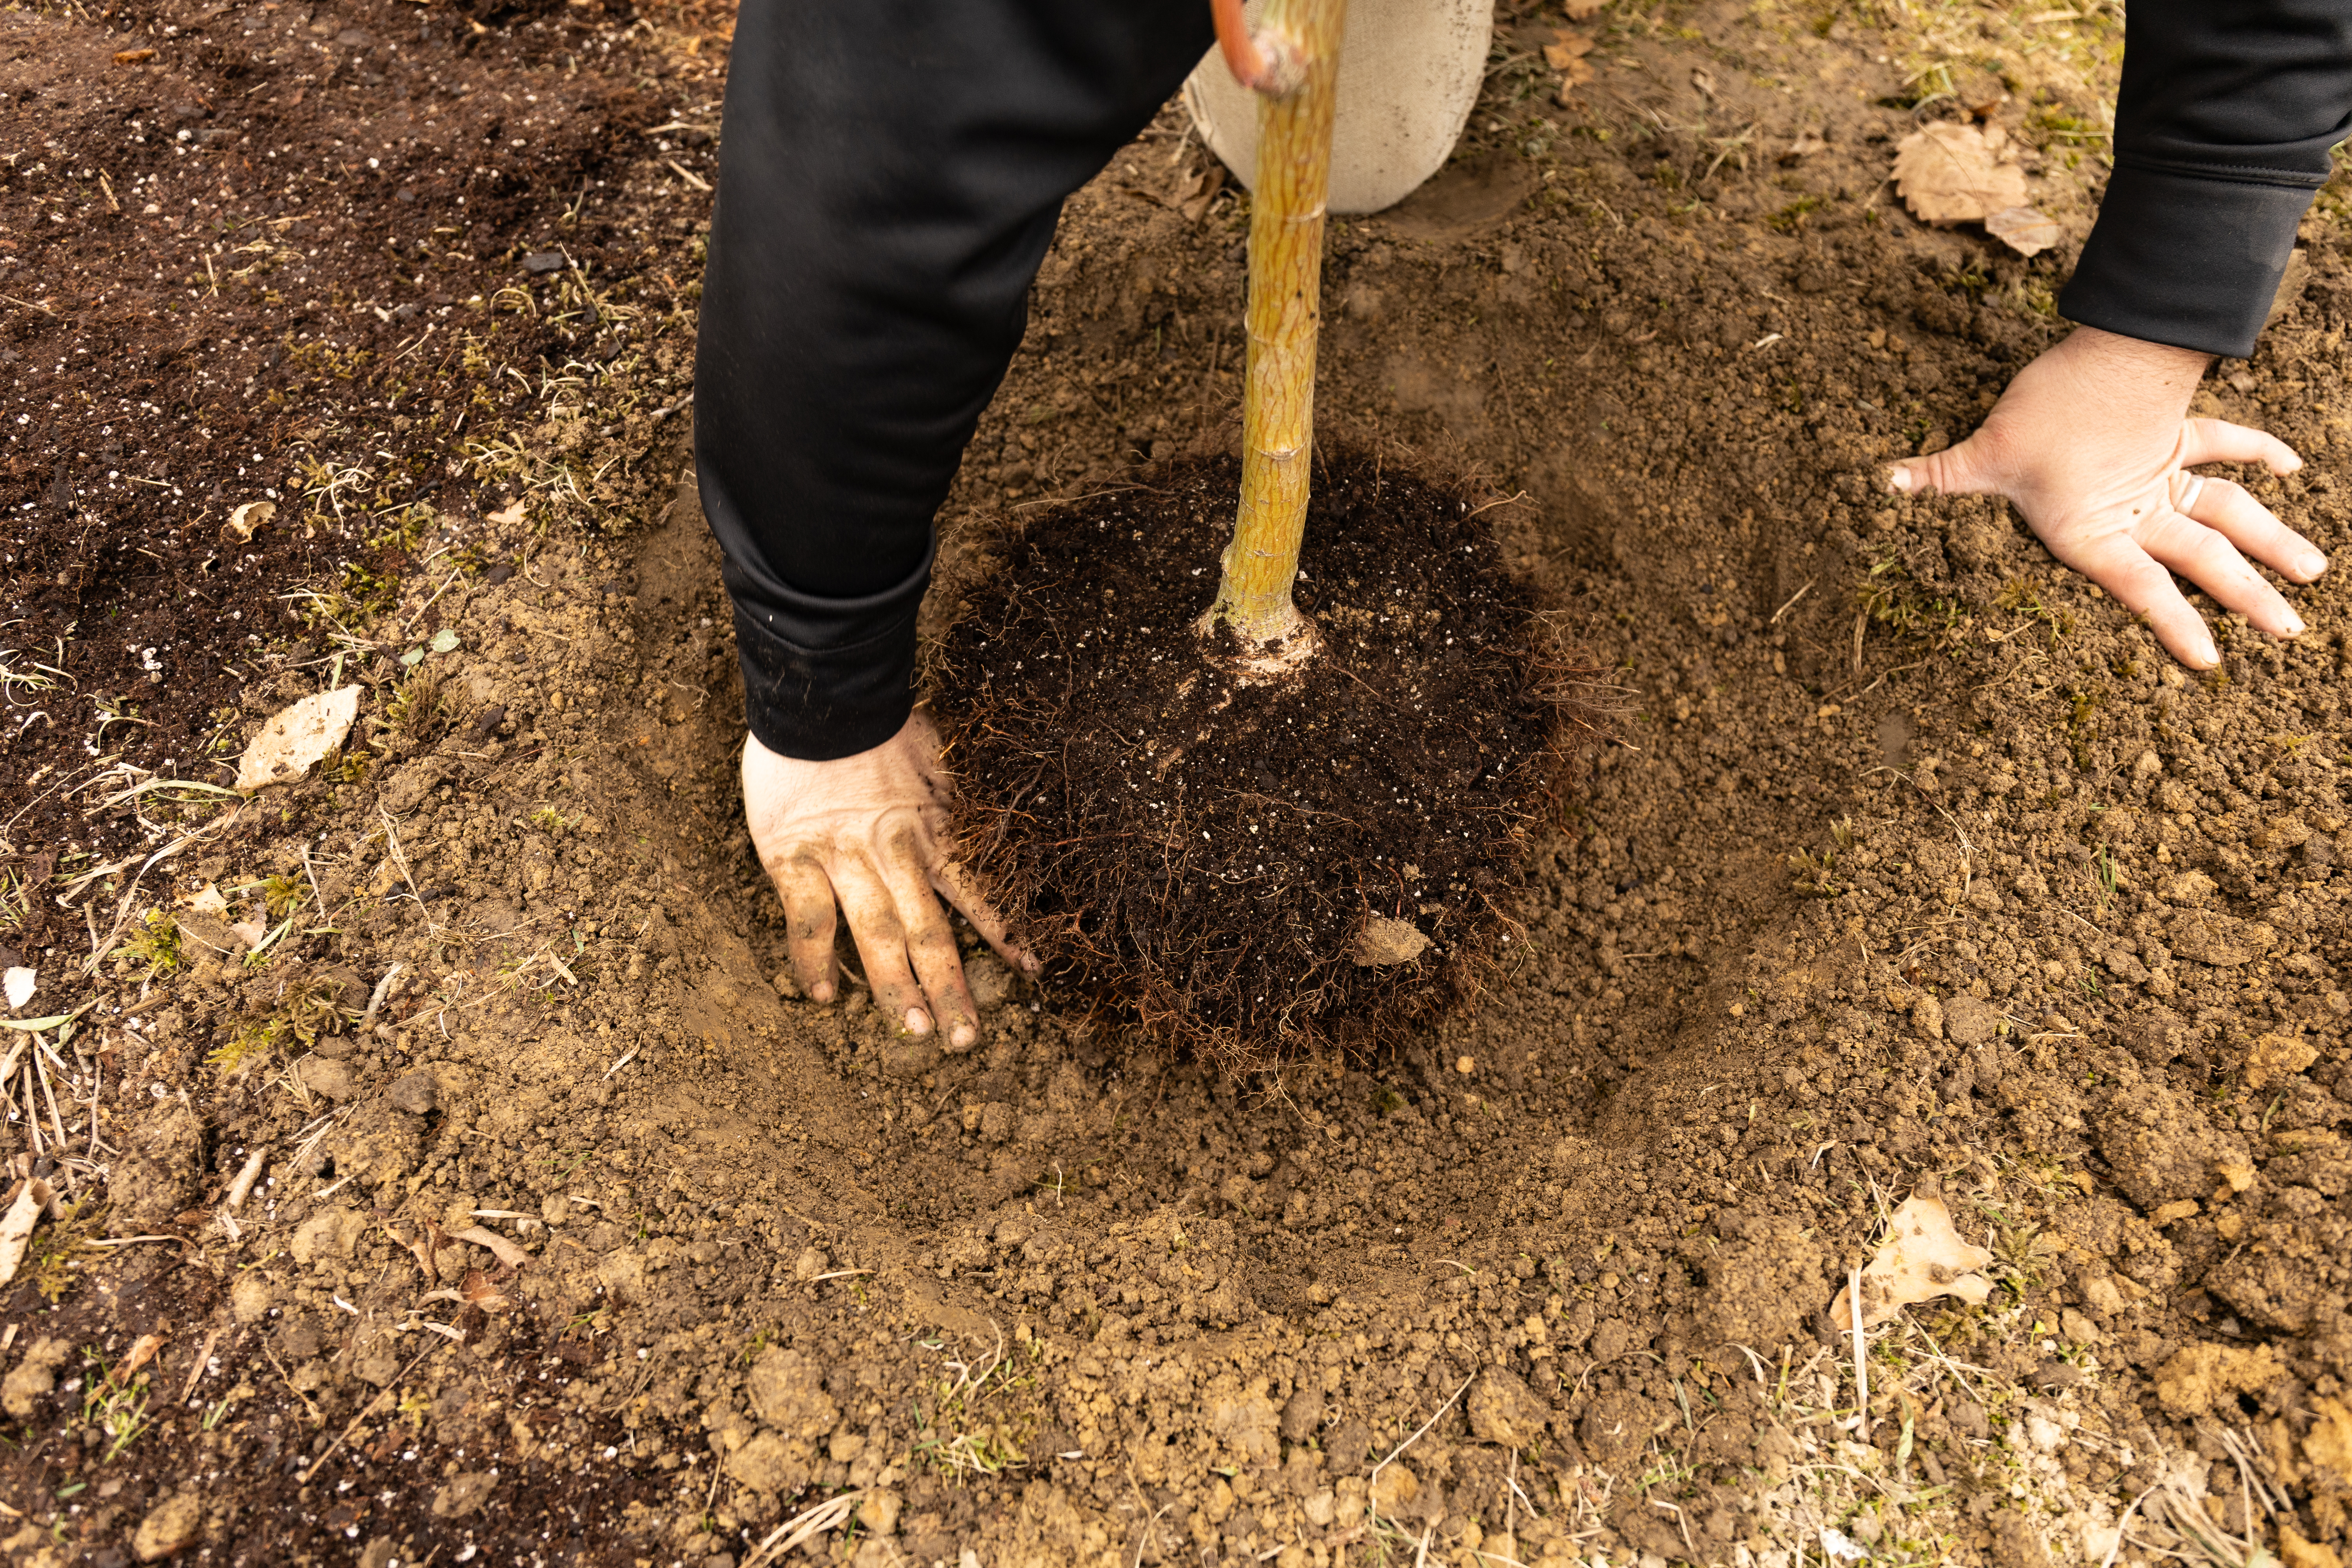
Step 6: Inspect Your Root System and Identify the Root Flare
The root flare is where the trunk and roots meet. Make sure to expose the root flare before planting your tree - it needs to be at soil level or slightly above when the tree is placed in the hole!
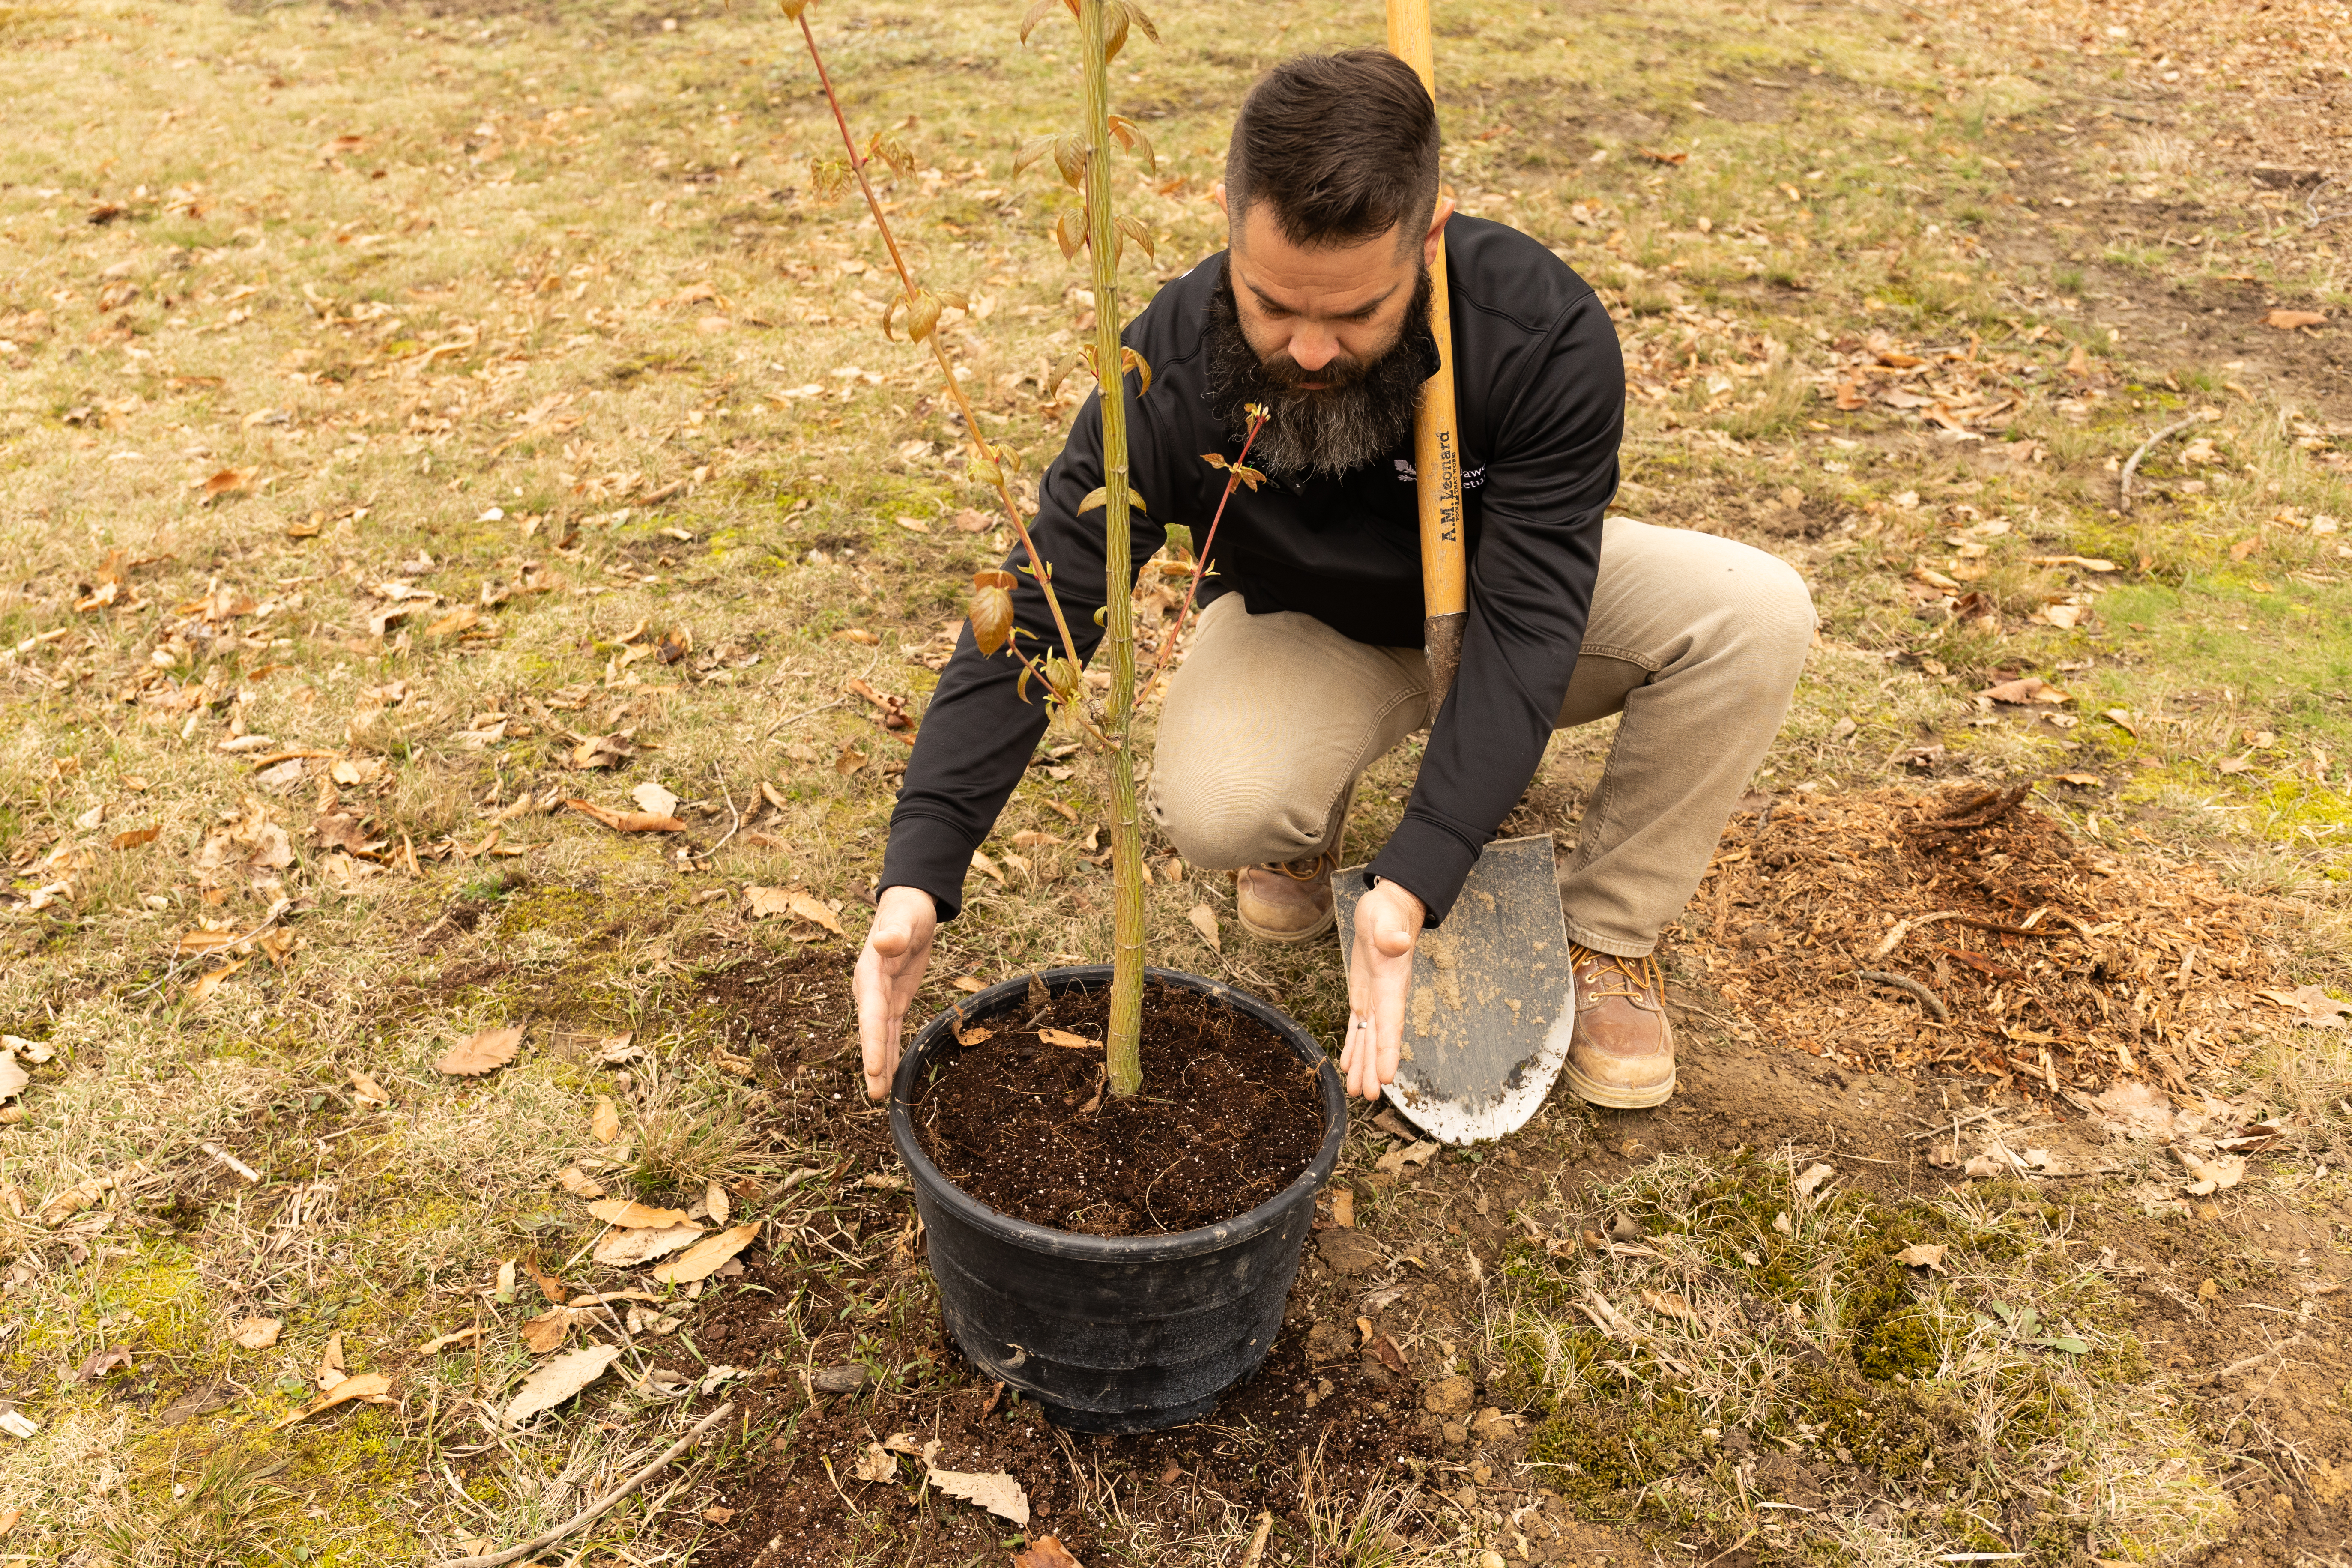
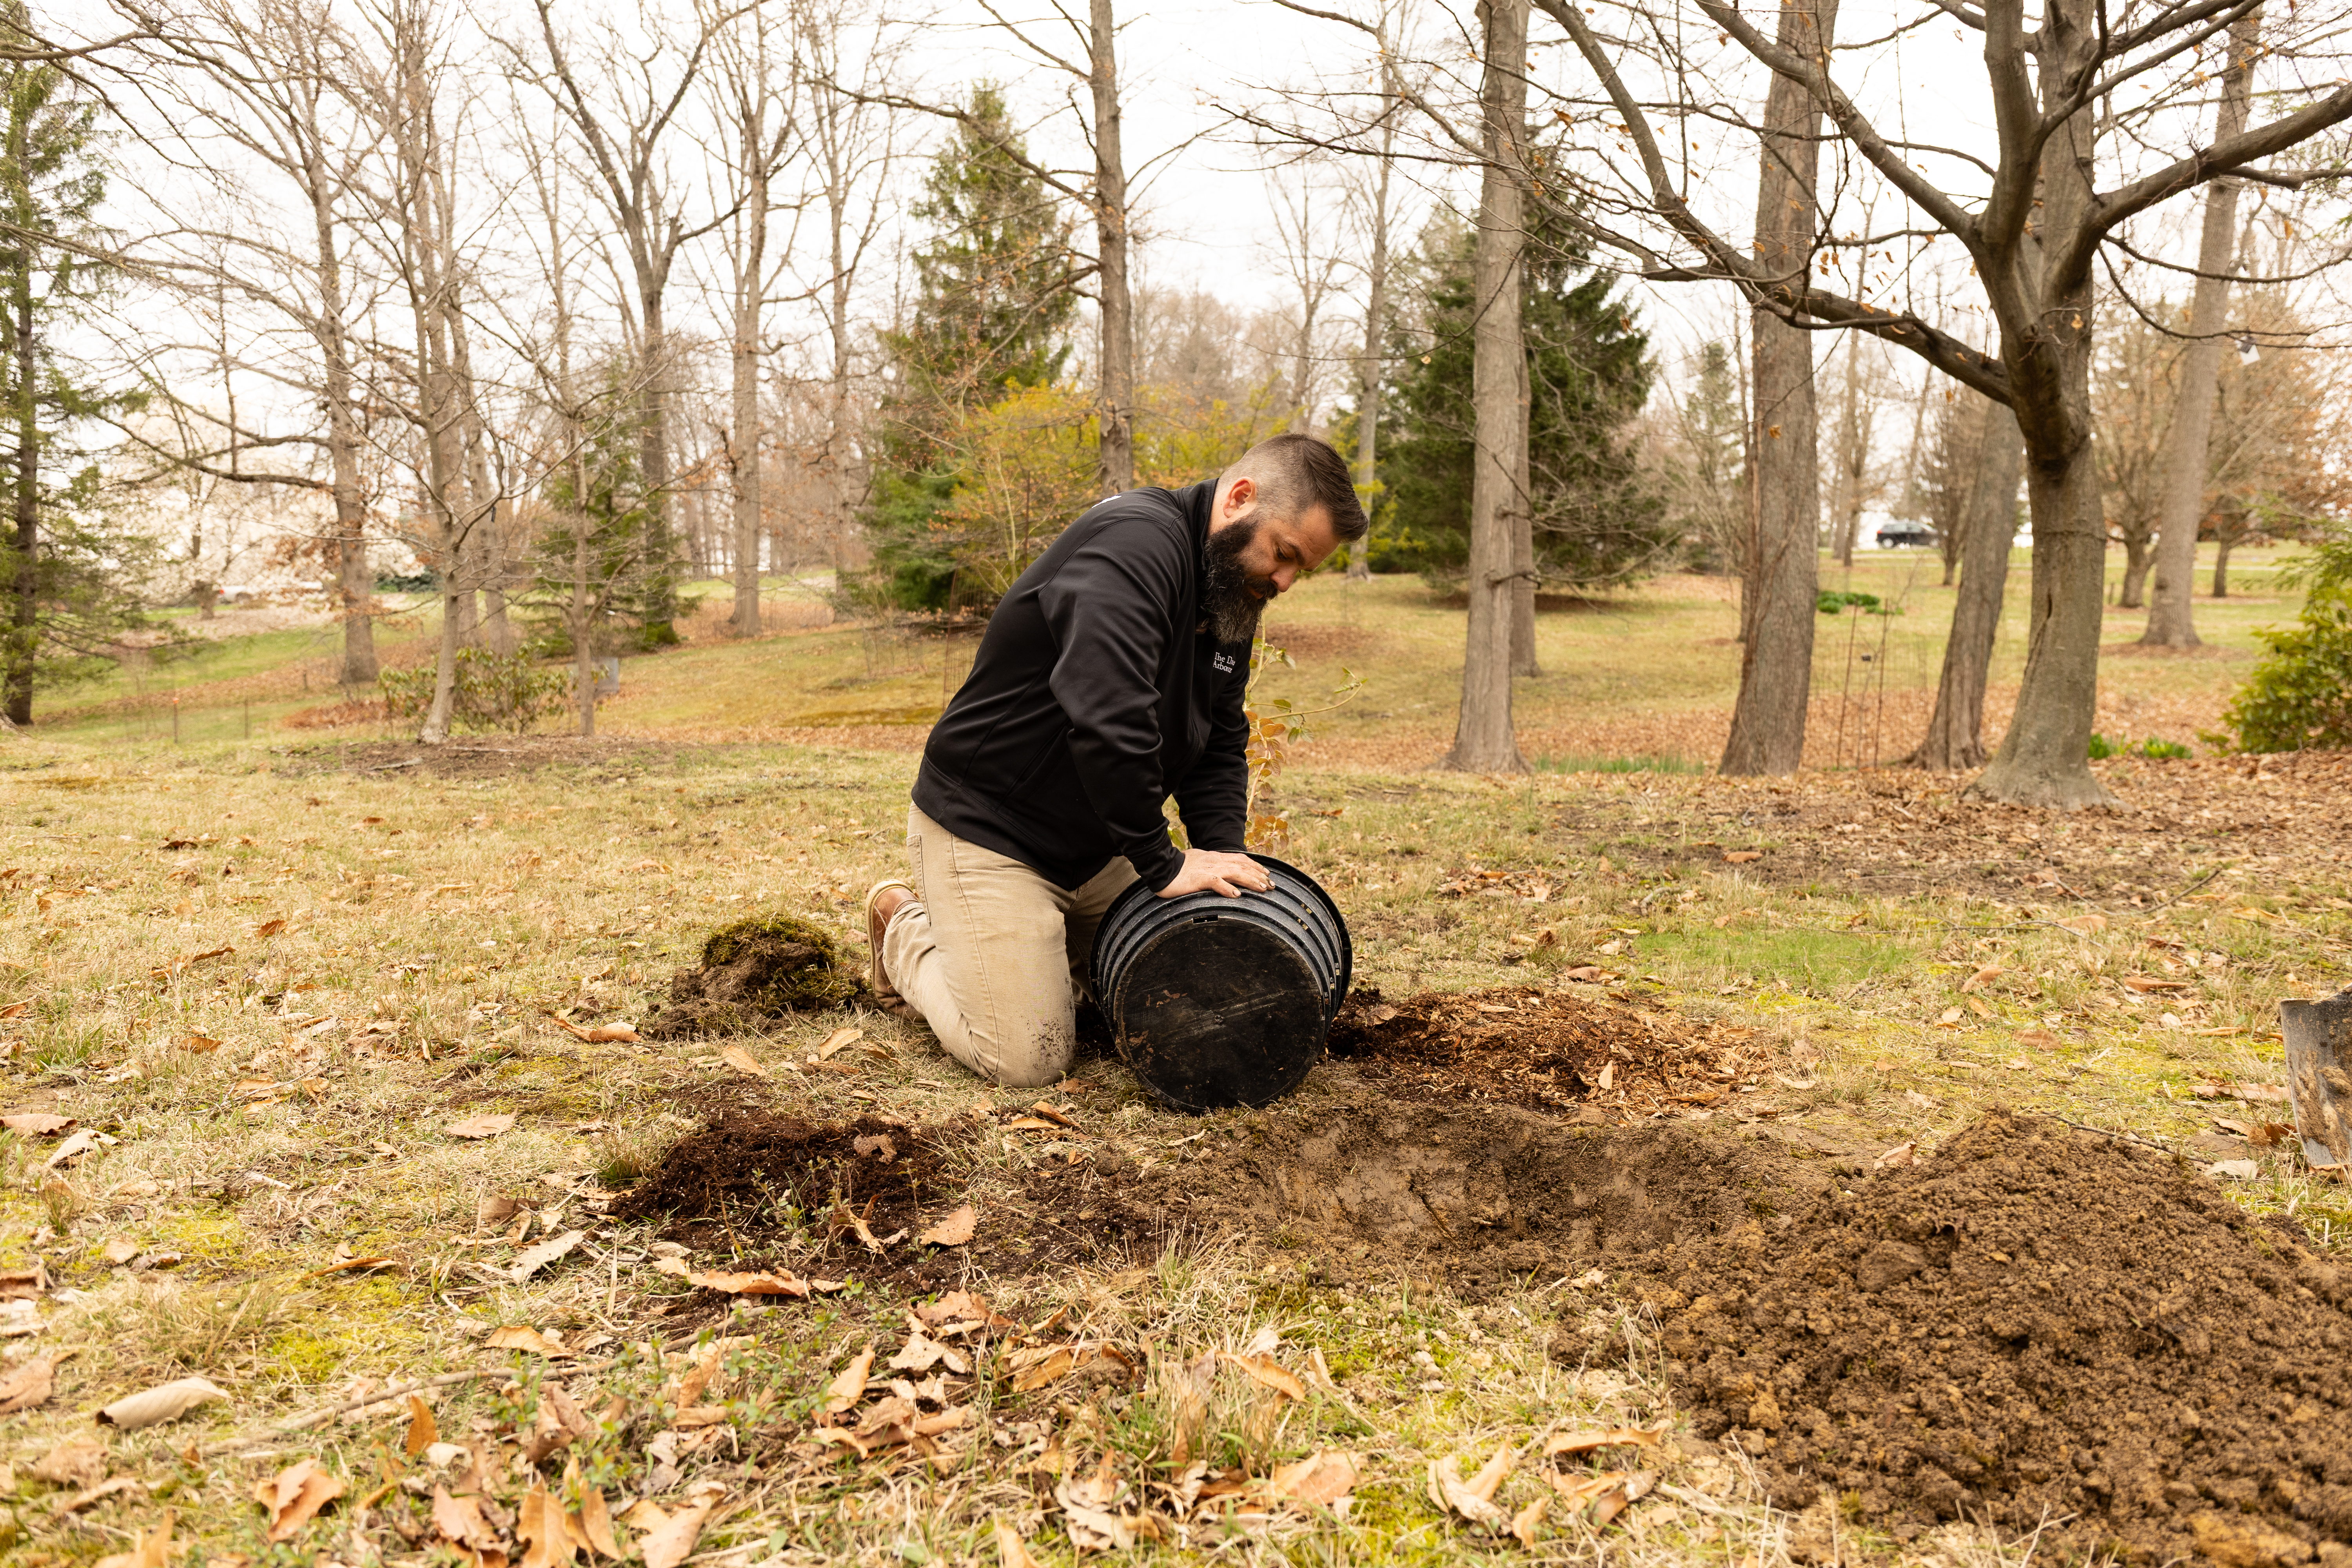
Step 7: Remove Your Tree from the Container
Remove your tree from its container and place it in the hole.
[Tip: Need helping getting your tree out of the container without damaging it? Carefully lay your tree on its side and gently press the container as you roll it back and forth to help release it from the container.]
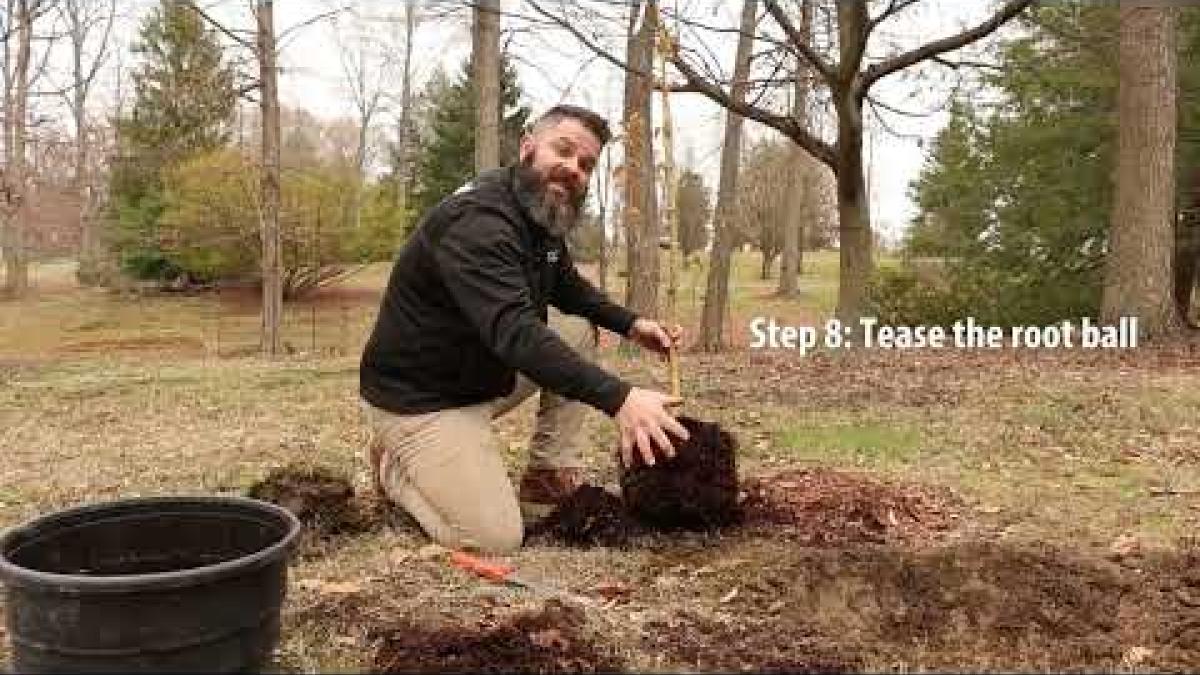
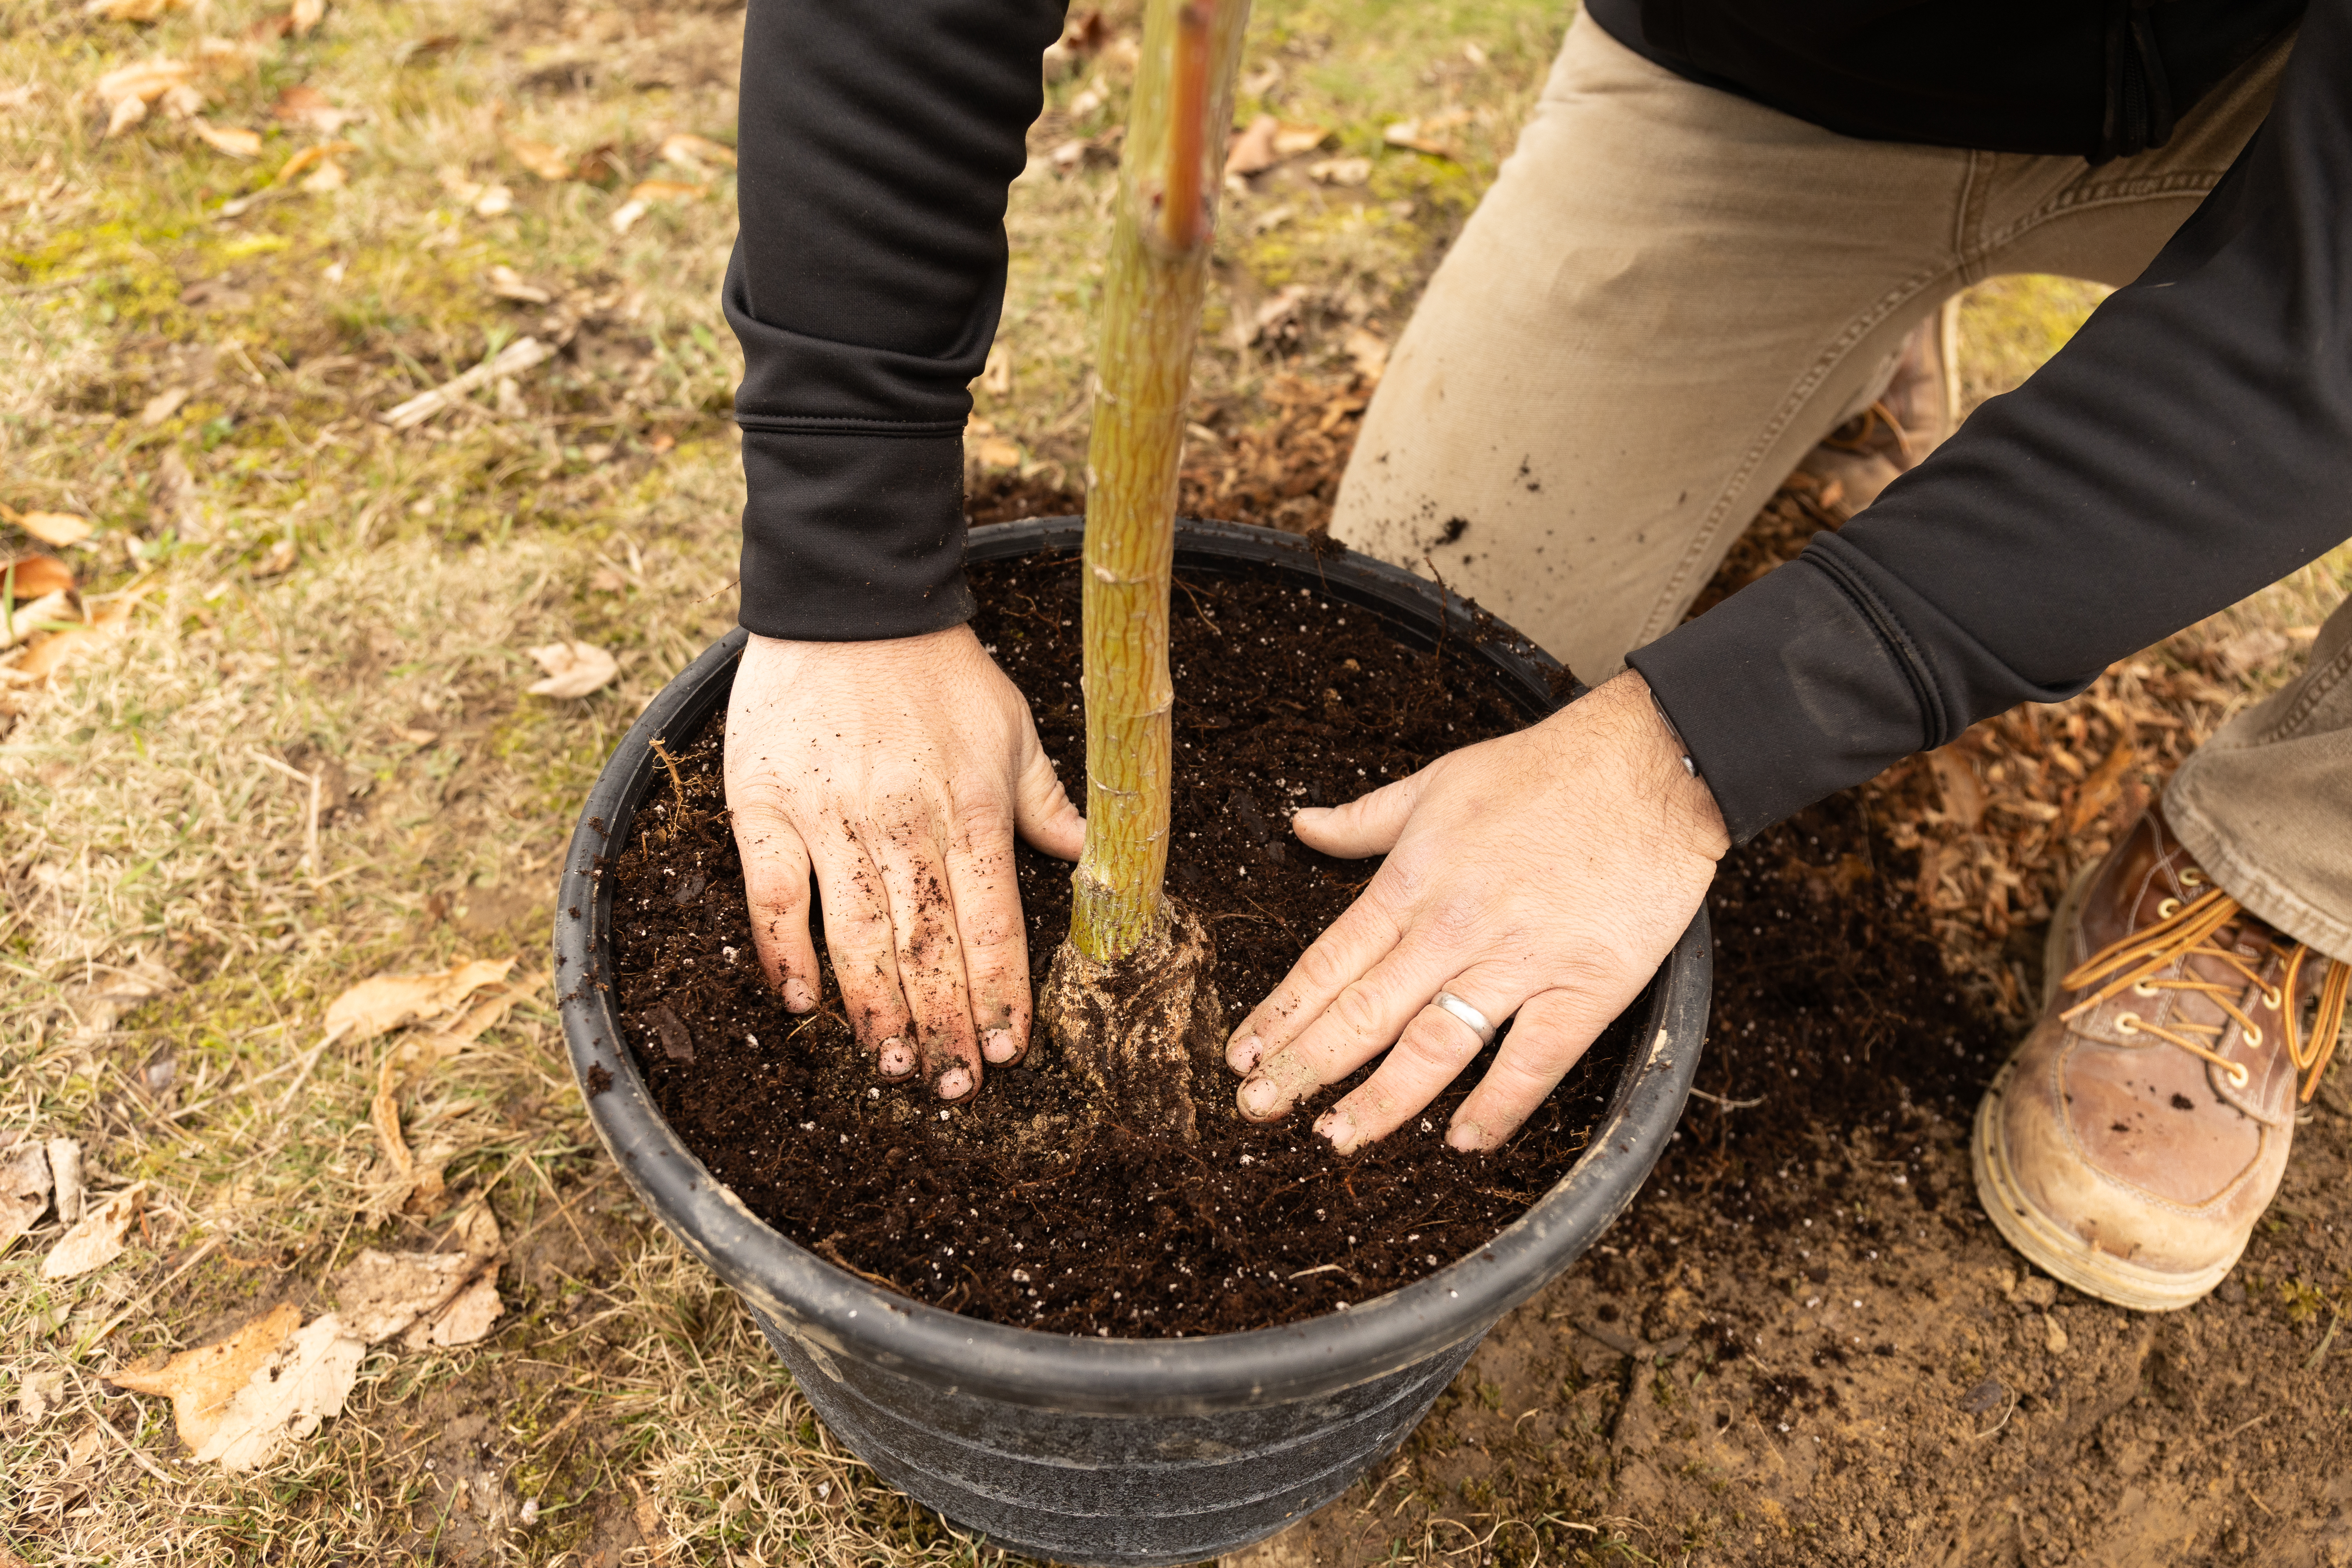
Step 8: Tease the Root Ball and Place the Tree in the Hole
Using your sod knife, cut off about an inch of the root ball on all sides, as well as the bottom. Use your fingers to ruffle and tease the roots. Next, place the root ball in the hole. Inspect the tree from all angles to make sure the trunk is straight, and the canopy is just the way you want it. Secure the tree with a light layer of soil.

Step 9: Place the Soil Back into the Hole
Avoid placing soil on the root flare.
[Tip: Slightly mound the soil so that rainwater drains away from the tree instead of pooling on top of the root flare. However, avoid creating a “volcano” shape.]
Step 10: Place Mulch
Add a 2-inch layer of mulch in the shape of a spare tire around the tree to protect the tree’s root system and suppress weeds. The mulch should be as wide as the tree’s canopy.
[Tip: The trunk and mulch should never meet. Make sure to keep about 3-inch difference between the trunk and the mulch ring.]

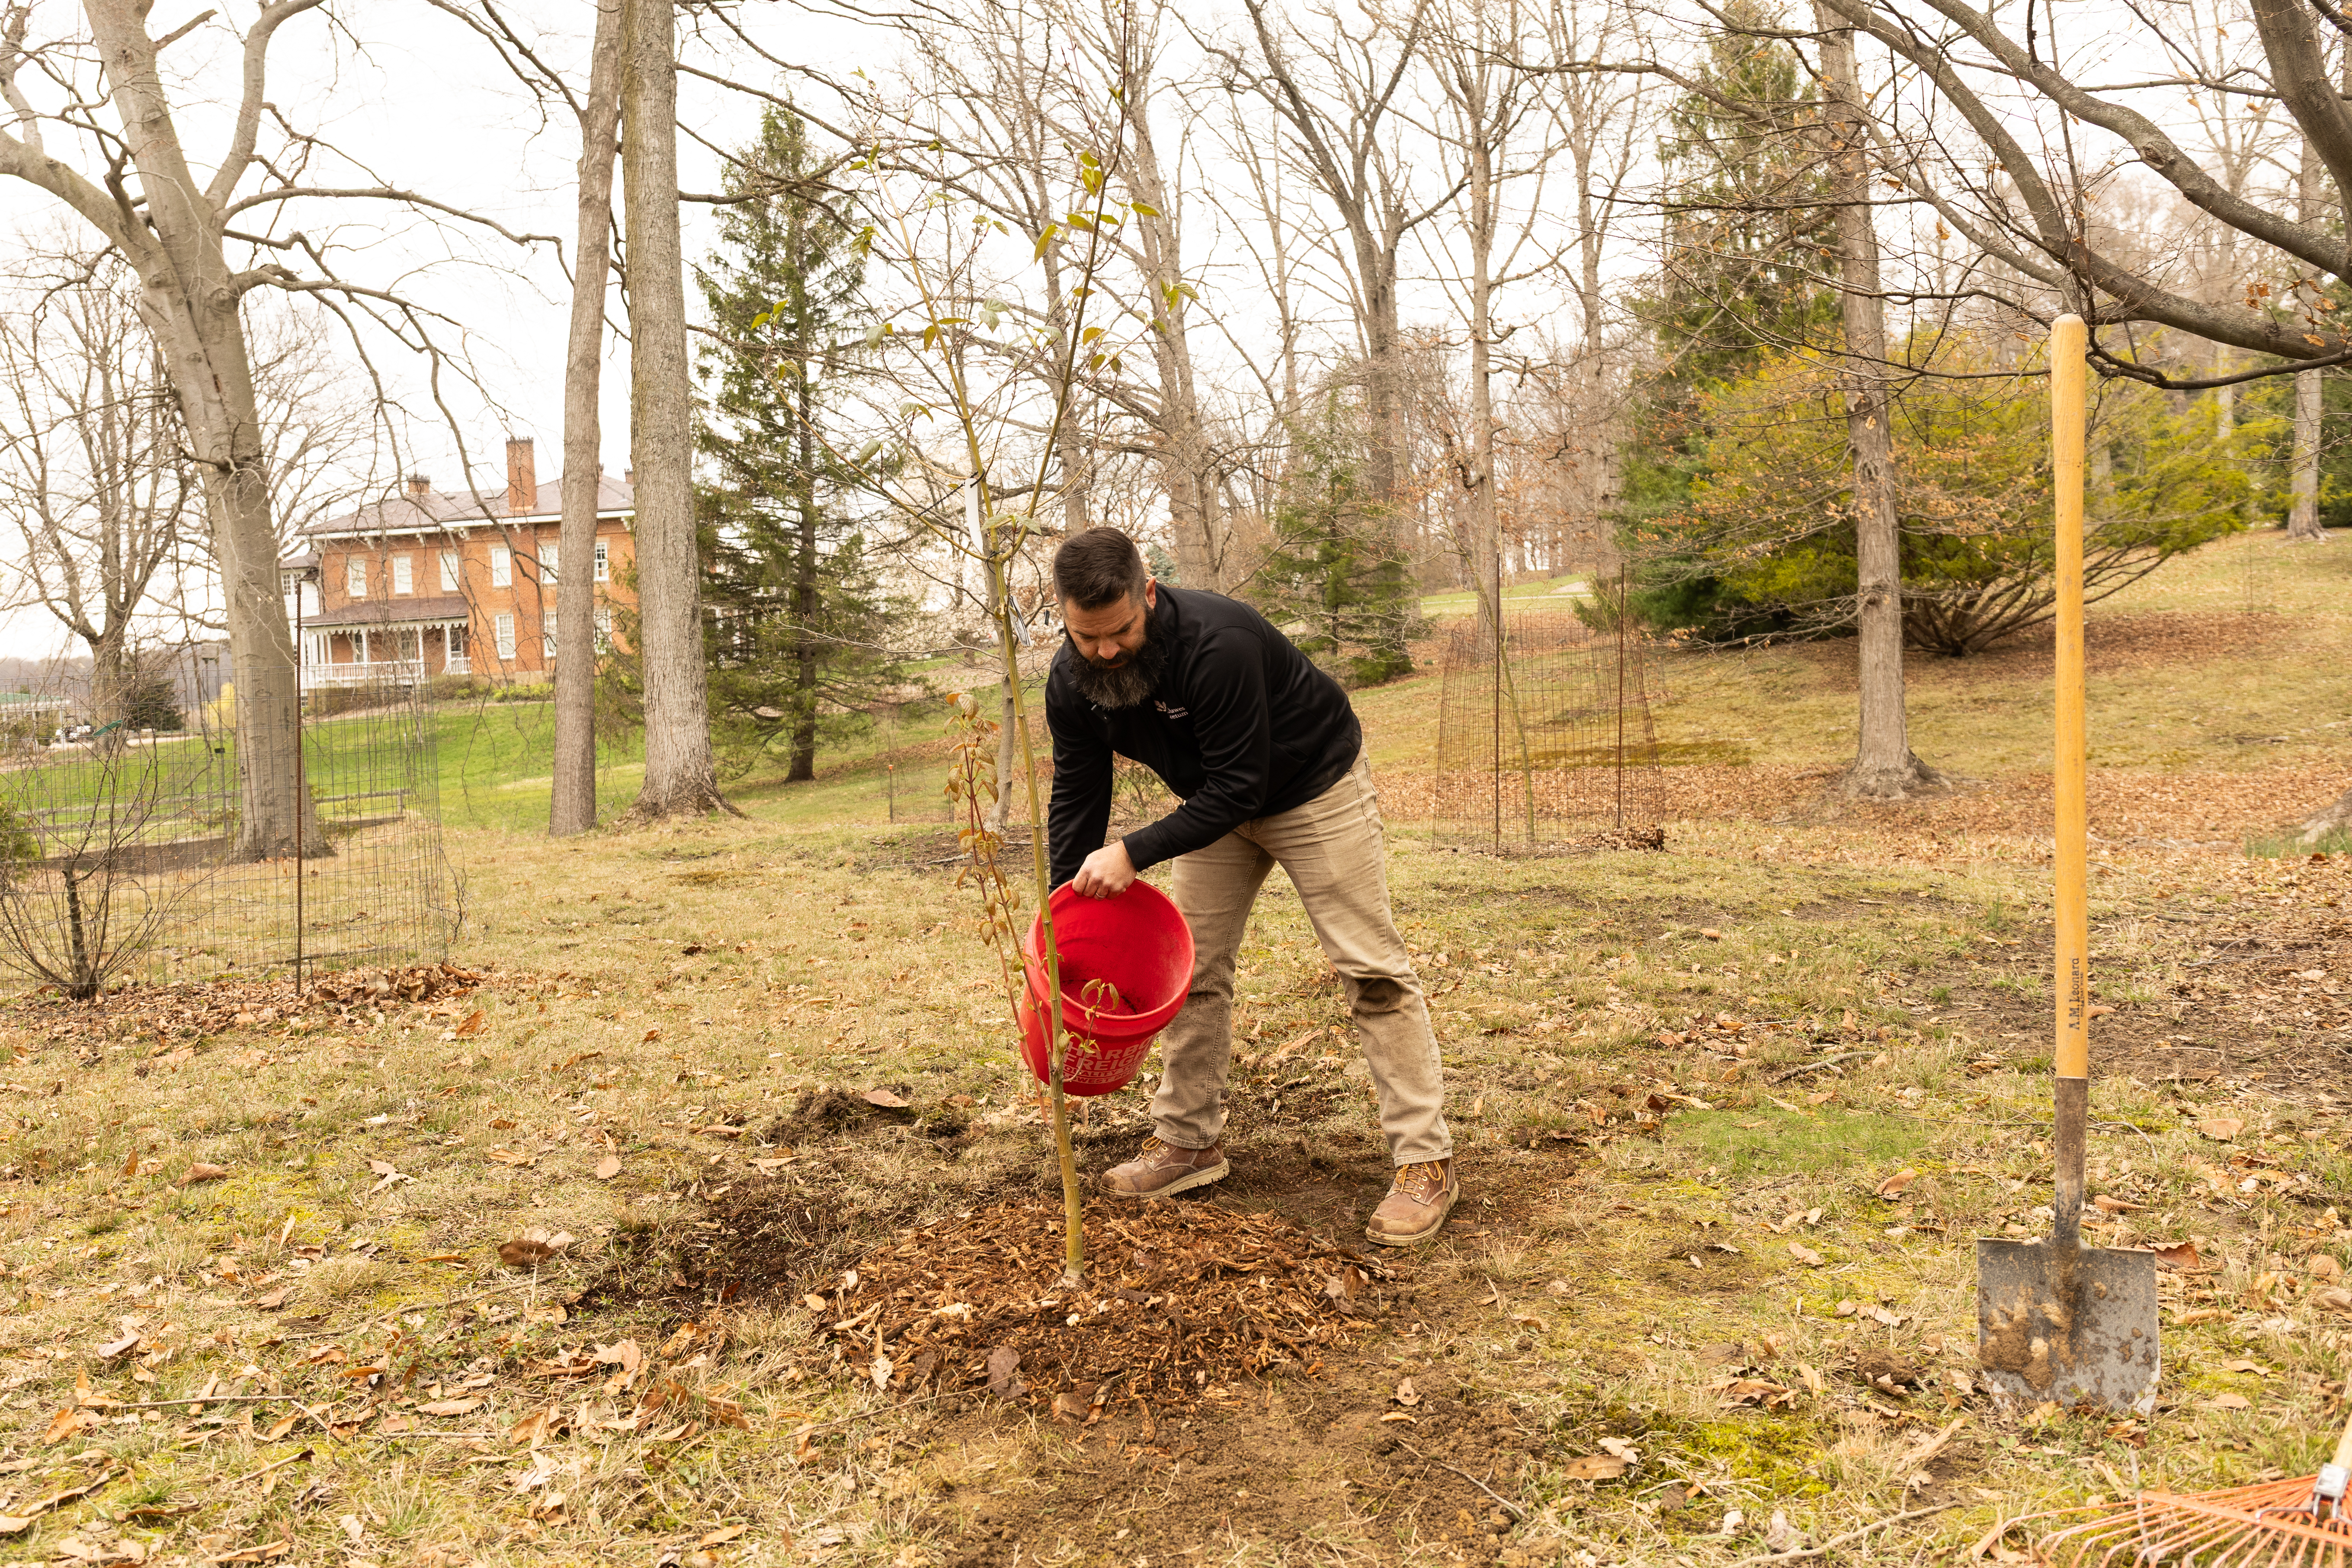
Step 11: Water Your Tree!
Watering helps establish the tree, encourages roots to grow and flowers to form!
[Tip: Water often and shallowly during the first month, but as the tree grows, make sure to lengthen the time between and deepen the waterings to mimic natural rainfall. This helps the tree rely on natural rainfall instead of your hand-watering.]
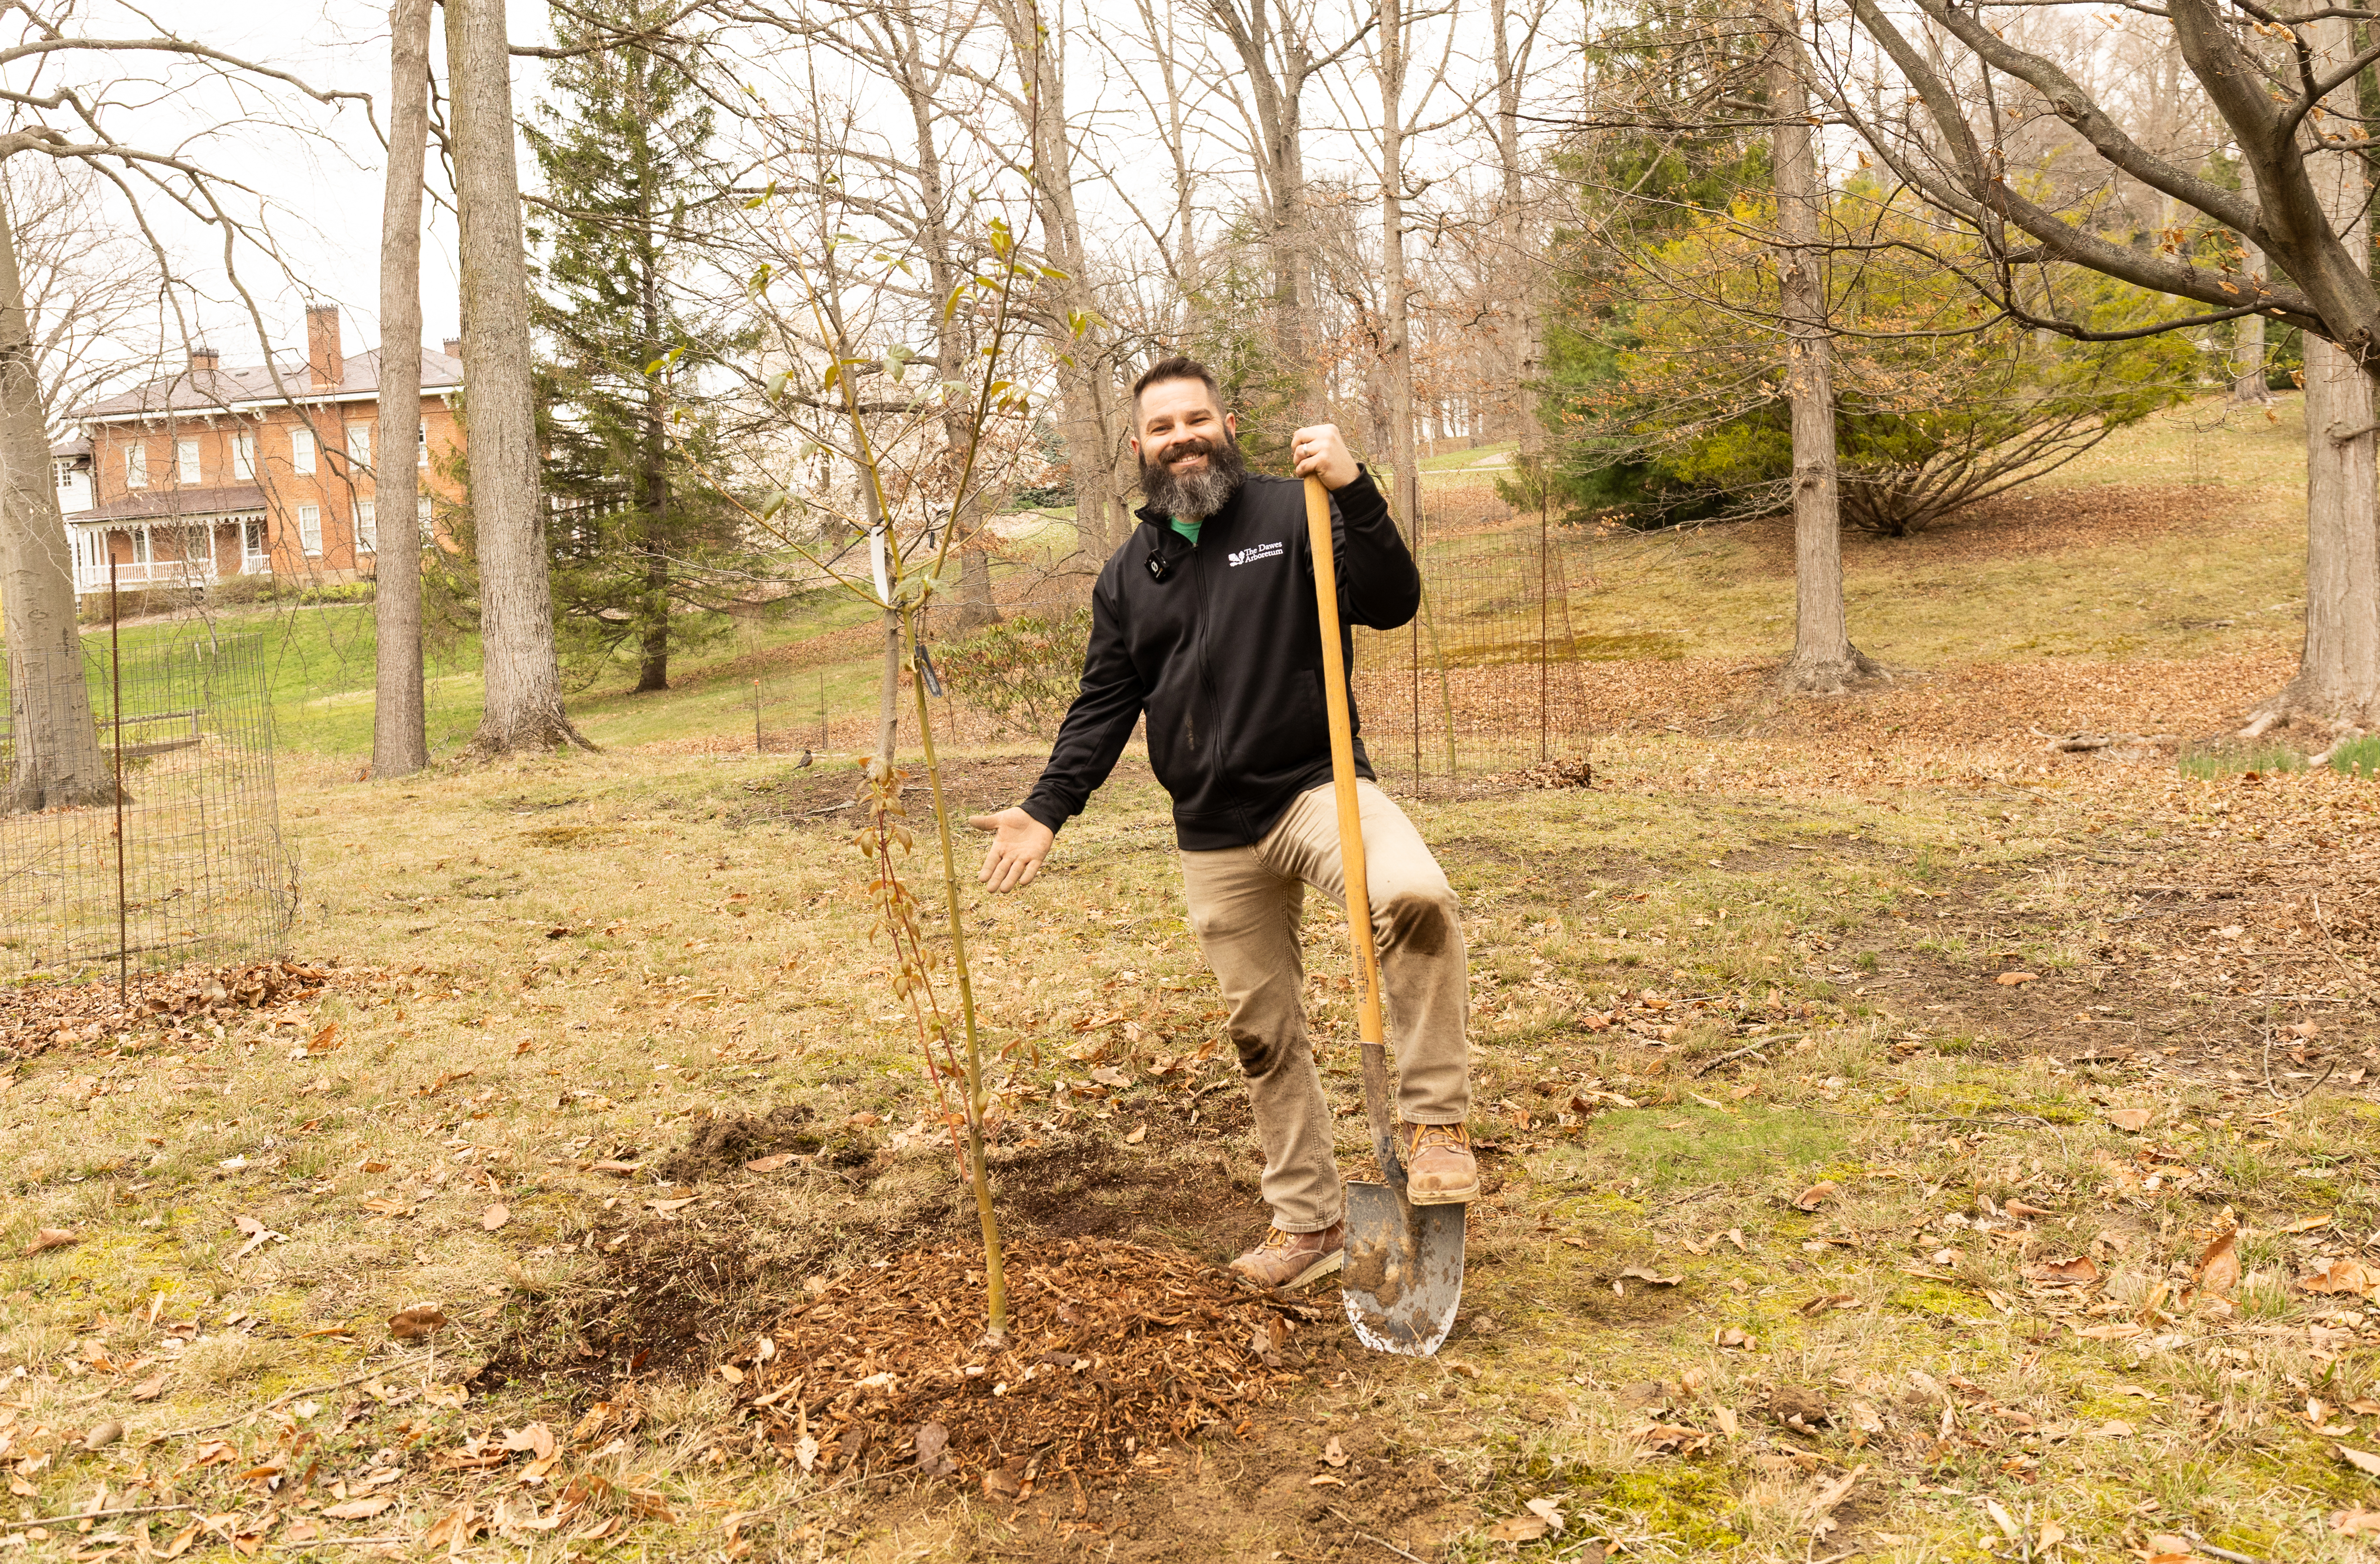
And there you have it! You just planted a tree!
Have questions about gardening, horticulture, plants or more? Reach out to our experts through the Horticulture Hotline! There you will be able to submit your questions and get the answers you need to be successful in your next gardening project.
Want to see a demonstration? Watch the video below!